Tuesday, May 31, 2011

Treasury Tuesday: Patriotic

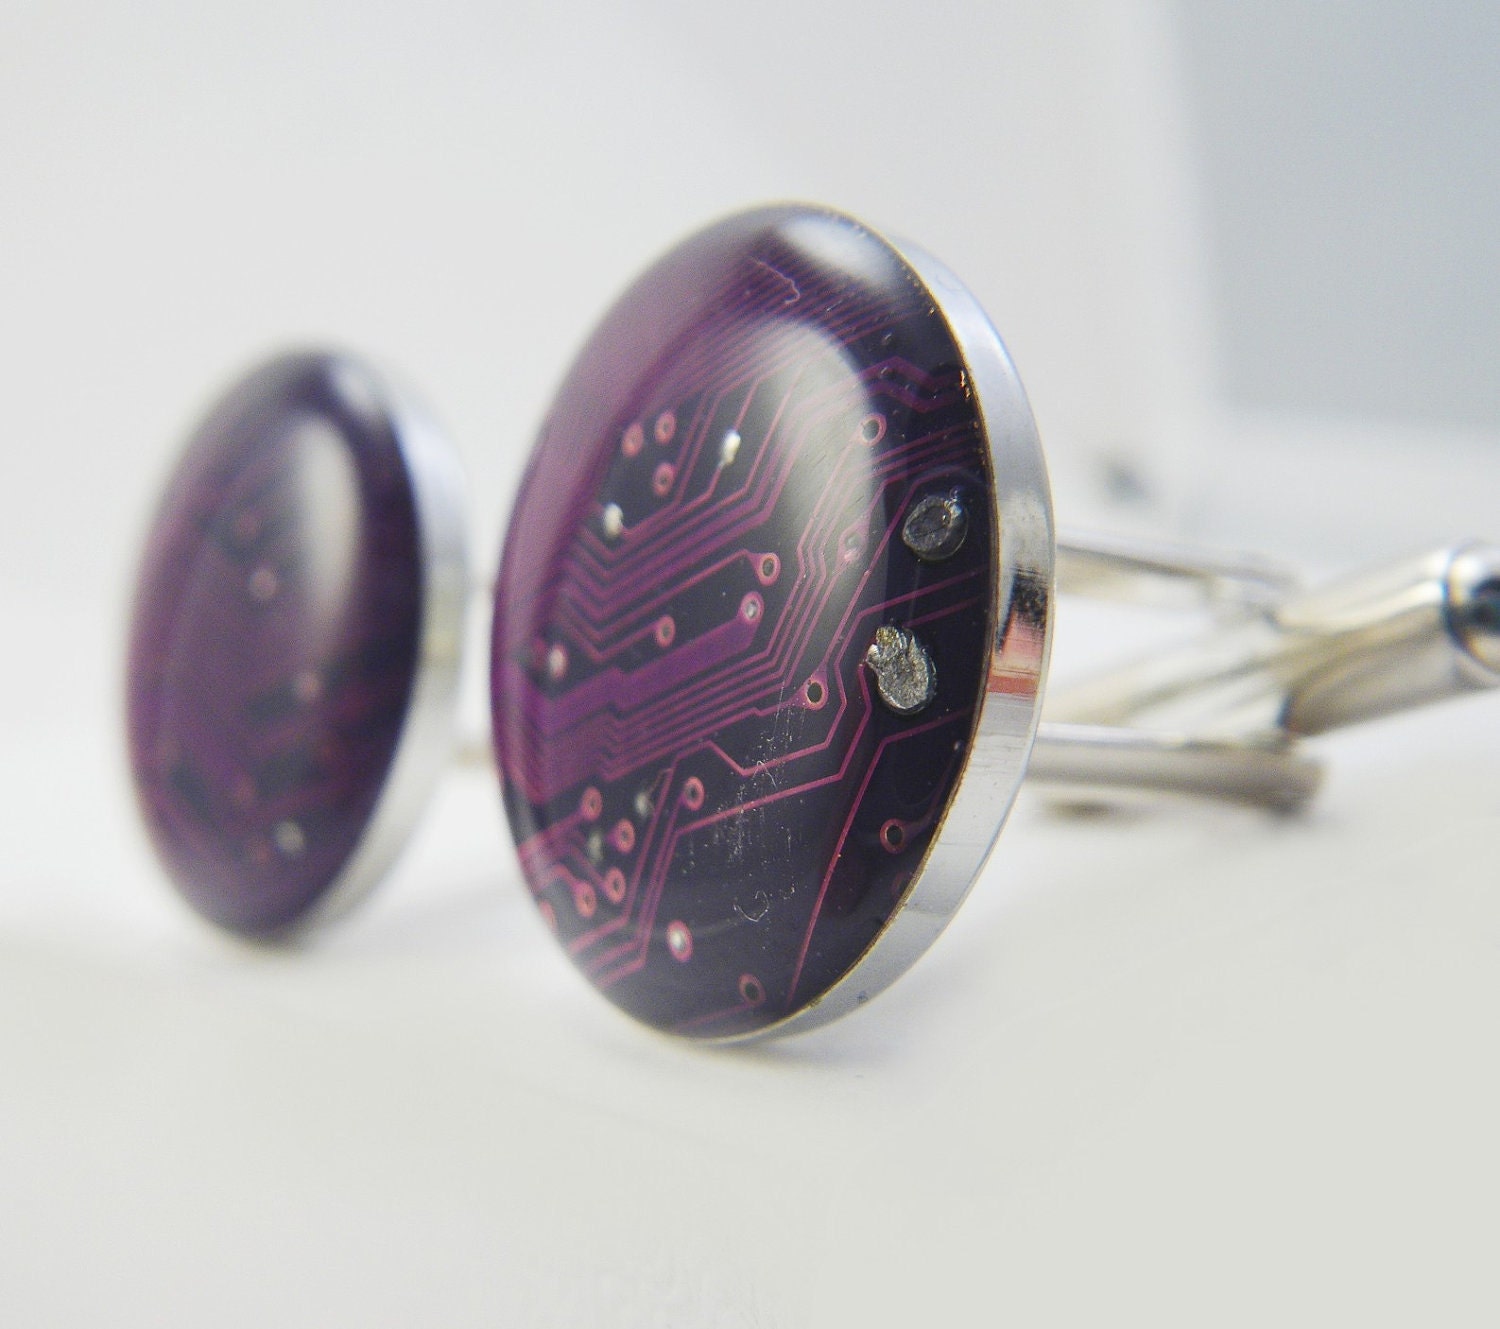
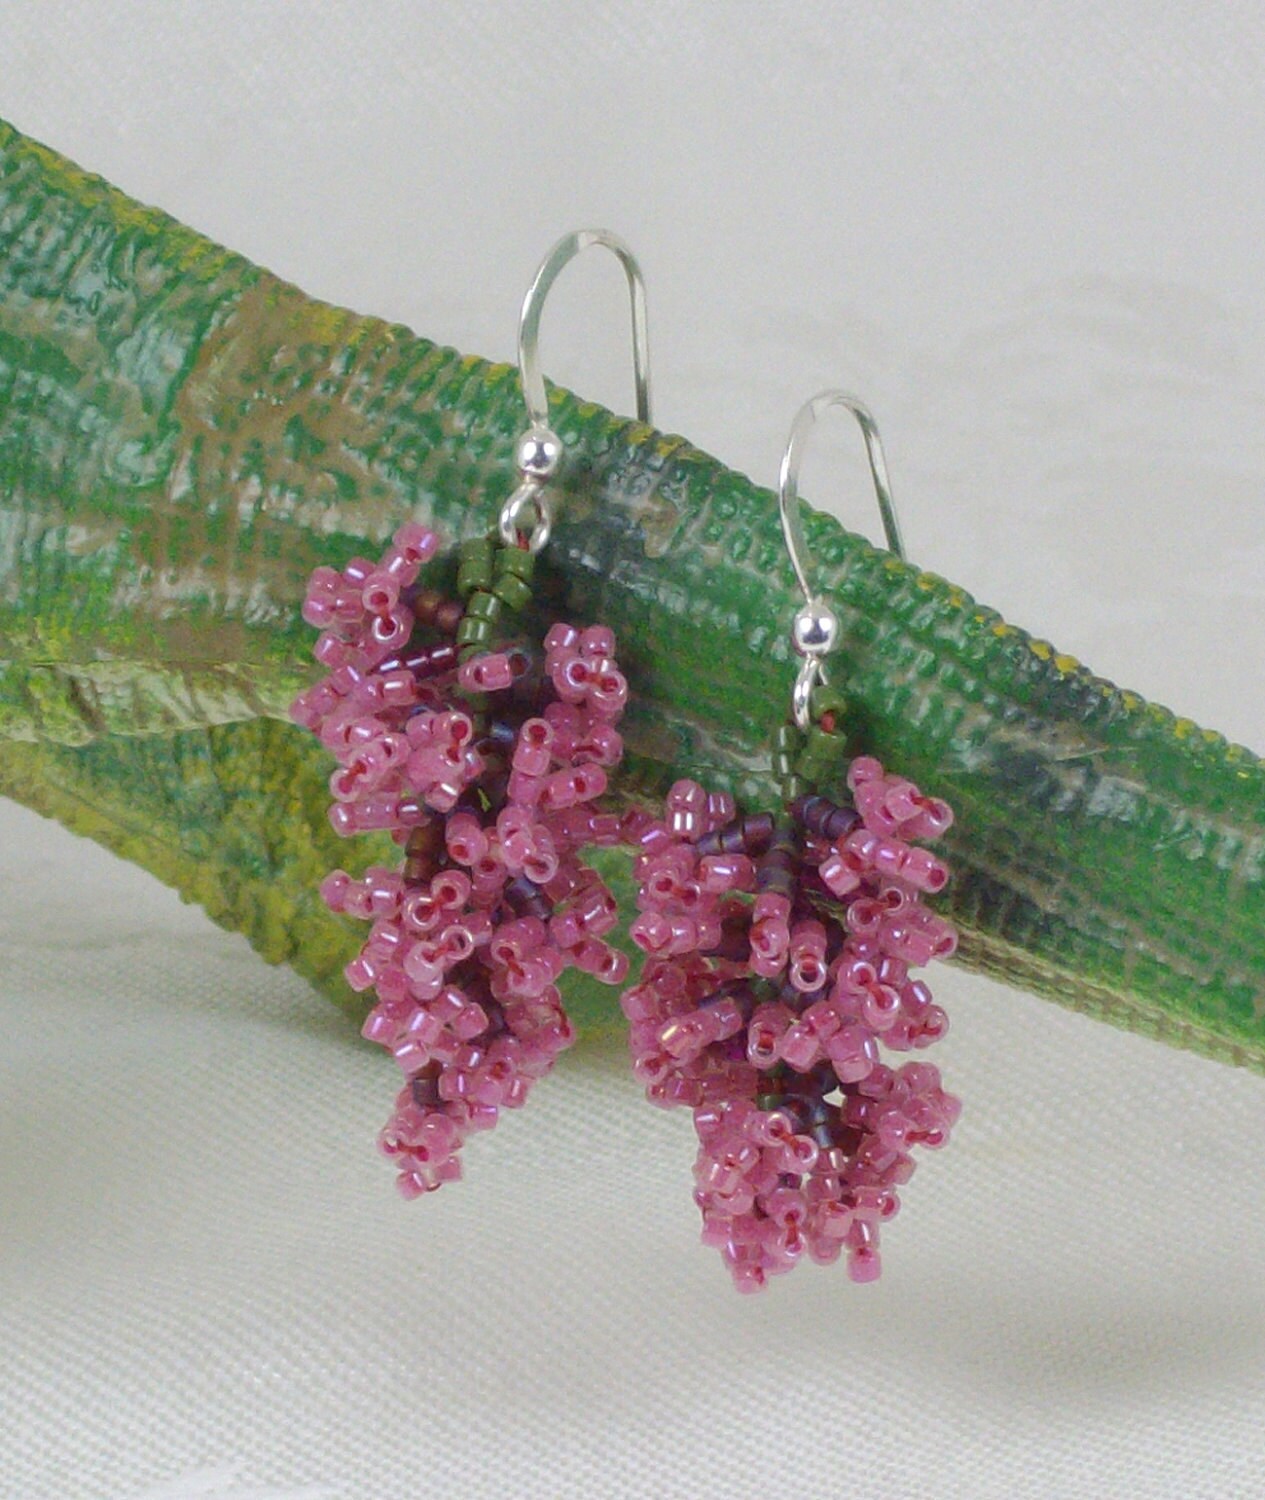
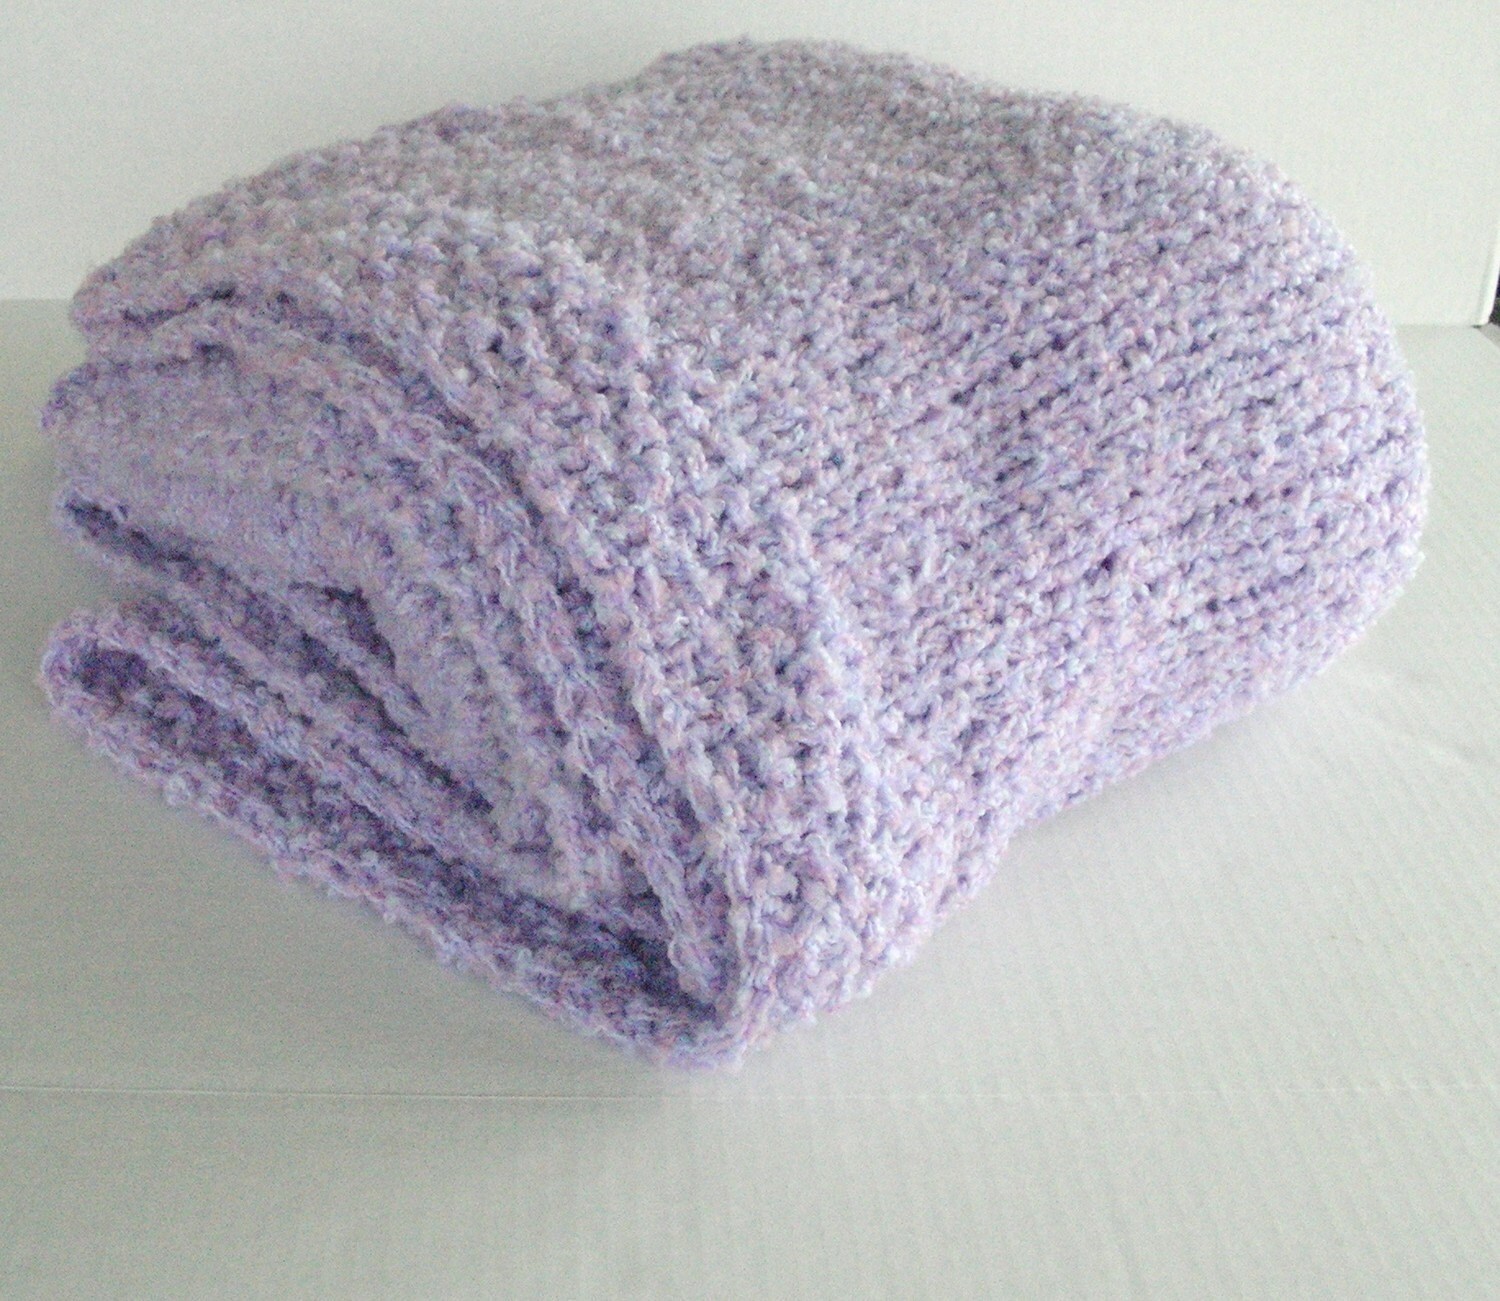
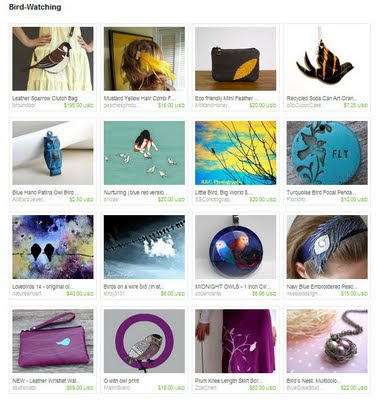
Memorial Day was yesterday, so this is day "late", but I thought it would be appropriate for this week's featured treasury to be a patriotic one.


Patriotic featuring KarenSwimmer

Be sure you click on the links below and go see more treasuries that feature some of our other awesome RNEST members! (if you don't, you're missing out!)

Featuring RNEST Members:
Featuring and curated by RNEST Members:
Curated by RNEST Members:

* If you make or find a treasury that features an RNEST member, or if you are an RNEST Member who makes a treasury, post the link on the wall at RNEST's Facebook Page. Your treasury could be featured on the next Treasury Tuesday!

Monday, May 30, 2011

Make-it Mondays:Post-It Notebooks

This week's tutorial comes from Kira Sinclair of KiraArts....well actually from her mom ;) These would make great gifts and perk up boring desk at work too. Enjoy!!!

From Kira:
At my request, my mom wrote the original blog tutorial for these cute little Post-It Notebooks that she makes. I've done a bit of editing, elaborating, and reformatting... but all the craft work shown in this post is all her! (I should get her to do a tutorial for one of her coffee cup cards/books).


Step 1:
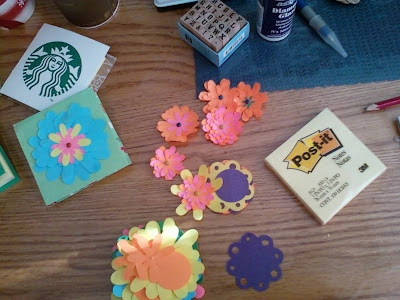
First cut your base card stock 7 1/8 inches by 3 1/4 inches. (I used black...since a friend, who was destashing her scrapbooking supplies, gave me a lot of this thick, sturdy, black cardstock.) Crease at 3 1/2 and 3 6/8. (See picture above.)


Step 2:

Create Flowers or circles from punches or what ever design you want. You can even use rubber stamps, markers, geometric shapes, whatever you want! (This is the fun and creative part!)


Step 3:


Glue a 3 by 3 piece of paper on top of the black cardstock (I used lime green), then glue on your embellishment (I used green & yellow paper flowers).


Step 4 (Optional):


If you want your inside cover to be a pretty pattern or a different color from the base cardstock, you can glue some patterned/colored paper on the inside of the cardstock cover.


Step 5:


Finally, glue the spine of the 3 inch Post-It Note pad into the area where you creased for the folds. (OR, alternatively, you could glue the pad to the bottom of the inside of the booklet, but I recommend gluing the spine.)


And there you have it! A cute little Post-It Notebook to pretty up your regular old boring Post-Its! You can make lots of them with different designs. You can even personalize them. It's a quick and easy project and can be a great little handmade gift!


*A special thanks to my mom for humoring me and writing the original tutorial on her blog (even though she is insecure about her blogging capabilities!), and for providing most of the photos!*

Wednesday, May 25, 2011

May Team Challenge: Lilacs

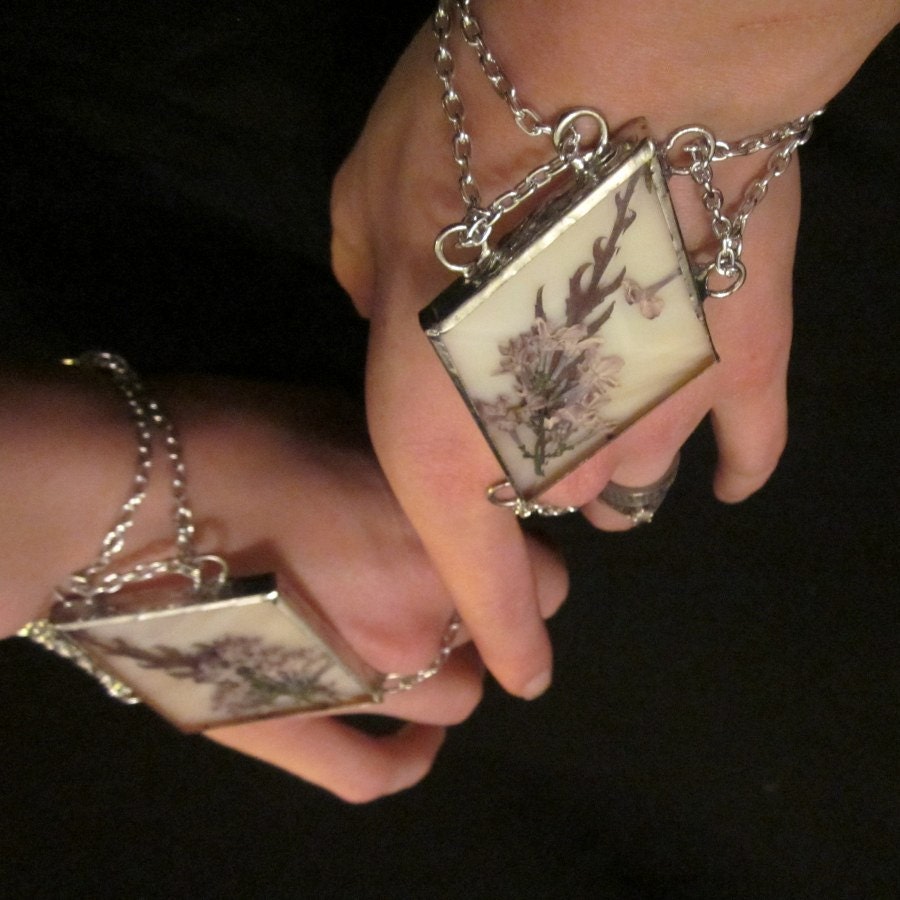
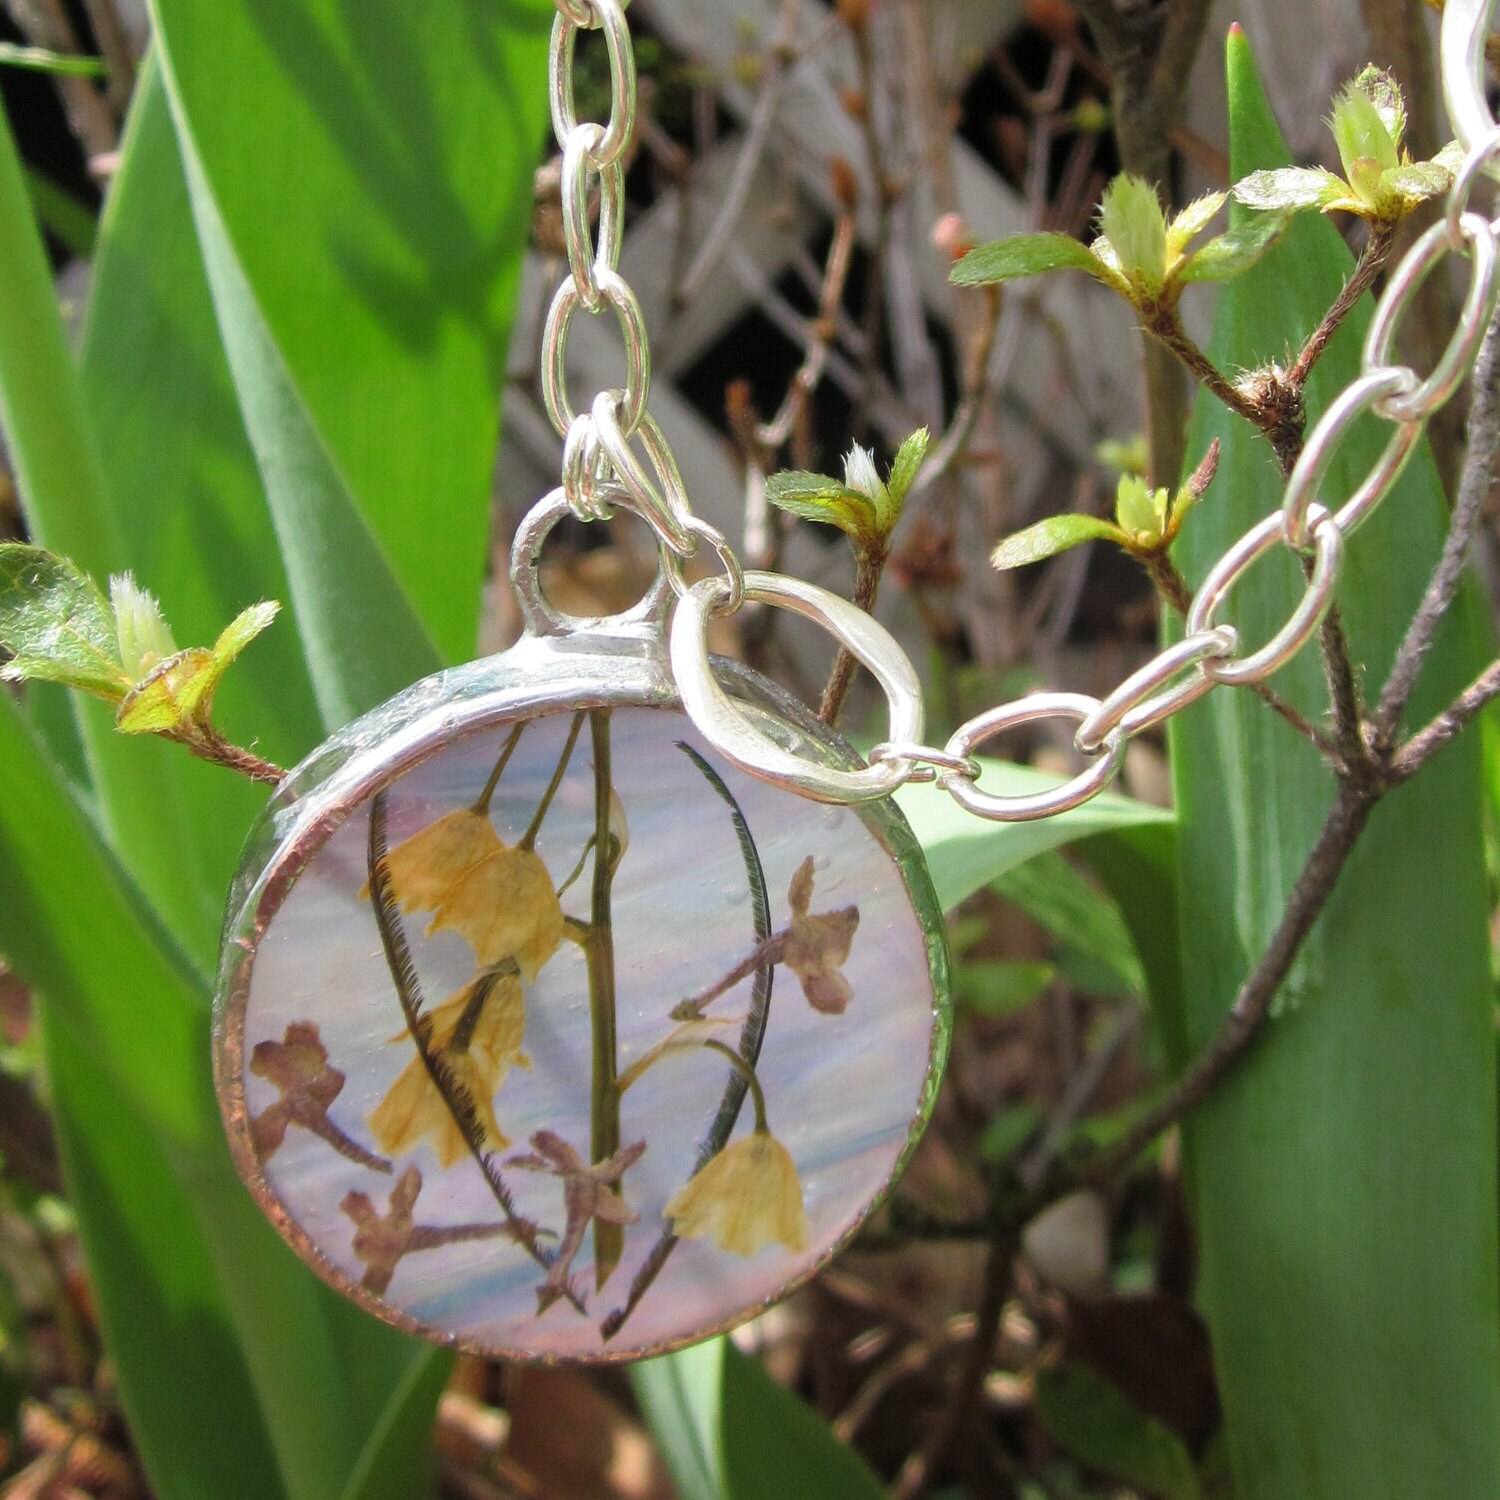
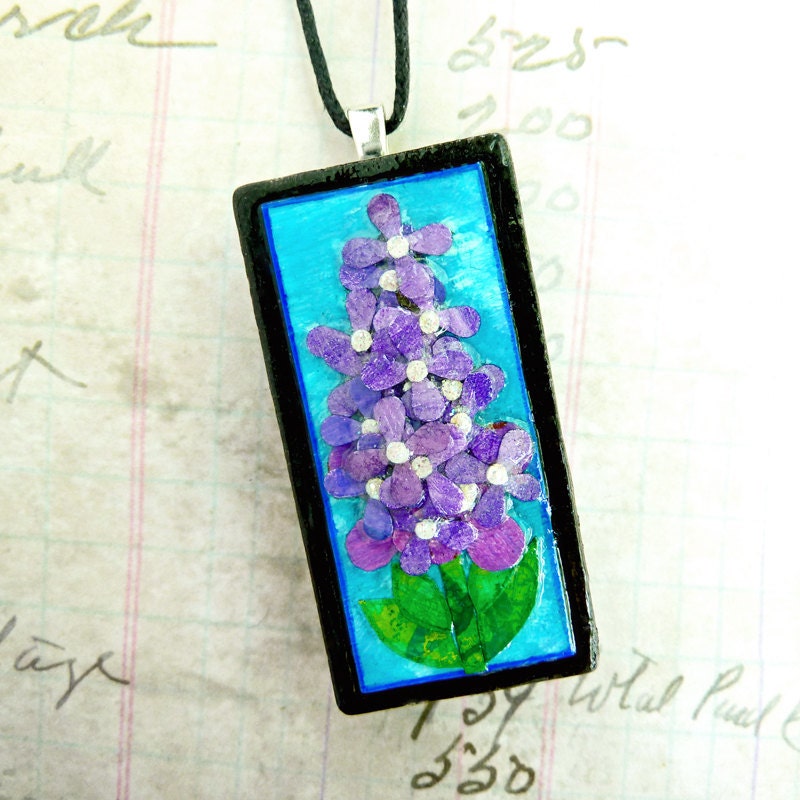
In honor of Rochester's claim to fame as the lilac capital of the world, this month's challenge presents RNESTers' take on our city's favorite flower.

Cast your vote for your favorite on the poll in the upper, right corner of the blog.


Tuesday, May 24, 2011

Treasury Tuesday: Bird-Watching

With spring finally being in full bloom, the birds are back and twitter-tweeting away (well, y'know...not really with Twitter...bird don't use computers! Ha ha! ~ahem~) Anyway, after a trip to my grandmother's house, who is an avid bird lover and bird watcher, and watching the birds at the feeders outside her kitchen window, I was inspired to make this treasury highlighting some pretty bird-inspired work, which includes a feather hair comb from our own PeachesProducts. I know birds and bird themes are ubiquitous on Etsy (and everywhere else!) but they're just so pretty!


Be sure you click on the links below and go see more treasuries that feature some of our other awesome RNEST members! (if you don't, you're missing out!)

Featuring RNEST Members:
Featuring and curated by RNEST Members:
Curated by RNEST Members:

* If you make or find a treasury that features an RNEST member, or if you are an RNEST Member who makes a treasury, post the link on the wall at RNEST's Facebook Page. Your treasury could be featured on the next Treasury Tuesday!

Monday, May 23, 2011

Make-It Mondays: Pets of Etsy

You know how Etsy sellers love to write things in their descriptions like "made in a smoke free/ pet free home"? Well, some of us are proud to have pets who help us make things. And I say to hypoallergenicphile buyers "NO! I will not give up my little buddy(ies) for you!" Here are the first of pets who help us make things from the Rochester NY Etsy Street Team....

Miso feline assistant to Buenahelena


Cosmo, studio helper for PeachesProducts, claims the beginning of a felted Alice in Wonderland scene as primo napping real estate.


Then she runs of with an owl body blank

And finally settles in for a long nap on Peaches' fabric, because she didn't need that for stuffers...

Too cute! They may get in the way more than they actually help, but they are always there to remind us to take a break. If you would like your Etsy pet featured on the blog, contact Buenahelena@hotmail.com. We welcome all animals :)


Friday, May 20, 2011

Friday Fashion Fix

My daughter is always leaving her earrings and other jewelry in random places around her room...

This jewelry dish would be the perfect fix for this habit. Besides the fact that her favorite color is green, she would enjoy being able to see her earrings so beautifully displayed as well as any of her other favorite bobbles!

Love, love, love this simple and very clever solution to the jewelry dilemma in our house!

If you know a certain someone who needs some help finding her favorite bobbles, visit Goldhawk Pottery and gift this pretty little dish!

Wednesday, May 18, 2011

Wednesday Wellspring Winner

Congratulations to #6, Amber, for winning the gorgeous print from Sarah G. Ortiz Photography!!

Thanks to all who entered! Join us next Wednesday for our monthly team challenge: Lilacs!

Tuesday, May 17, 2011

Treasury Tuesday: Crafty in Color!

Well, this weekend was one of the biggest craft shows in western New York...the Rochester Lilac Festival. Unfortunately, it rained almost all weekend. Although that didn't stop most of us from going to the Festival and seeing some of our RNEST friends who have booths there (like Sunshyne Silverwear and Beadwork By Amanda!). But the good thing about rain is that sometimes, when it ends, there's a rainbow! I curated this week's pictured Etsy Treasury, featuring various RNEST members with that thought in mind! Enjoy the colors and think of brighter days!


Be sure you click on the links below and go see more treasuries that feature some of our other awesome RNEST members! (if you don't, you're missing out!)

Featuring RNEST Members:

Curated by RNEST Members:

* If you make or find a treasury that features an RNEST member, or if you are an RNEST Member who makes a treasury, post the link on the wall at RNEST's Facebook Page. Your treasury could be featured on the next Treasury Tuesday!

Saturday, May 14, 2011

What's Your Story? Weekend Edition: Allie Push of Soft Shell Crafts

I'm proud to introduce the inaugural post for this thread. Allie Push of Soft Shell Crafts kindly agreed to be the first brave soul to share her story. I admit a bit of self indulgence in selecting her; once upon a time I fell in love with book binding, particularly books made without glue I got to meet her and  her adorable journals at Mayday! Underground a few weeks ago. She might have inspired me to brush off the dust and start using some of those lovely hand bound books I made so long ago. And to buy new ones! Thanks for sharing Allie!


Name: Allie Push

Business Name
: Soft Shell Crafts

Etsy Shop
: softshellcrafts.etsy.com

Blog/Website/Facebook/Twitte
r: softshellcrafts.tumblr.com; Soft Shell Crafts on FB

Age: 22

Profession/Day Job: Saranac beer demo girl / RIT figure model / intern at RoCo

Craft(s) of Choice: Hand bound books

List 5-10 words that describe your work:
Upcycled handmade books to save the world


How did you get started? Almost a year after first learning how to coptic stitch, I pulled out the instructions we had received and got to work making a sketchbook as a gift to a friend. And, to my pleasant surprise, it turned out really well! (And he seemed to think so too, so that was an extra vote of confidence) I started looking around at pre-existing materials that just built up around the house: the brown packing paper I’d been saving up for...you know, I’d do something with it eventually...and the beer boxes always added up at the end of wild college parties as well. So I started making books out of beer boxes; it seemed logical to just start turning what was usually waste into something useful.

How did you first hear about Etsy?
I’m not really sure, to be honest. There wasn’t ever a defining moment where I realized “Hey! There’s this awesome online venue for selling art and crafts! Whoa!” It just kind of sneaked into my awareness at some point.

Besides your main craft of choice, do you enjoy any other crafts? I’m starting to make some collaged wine bottle vases and painted vinyl record bowls. I am also a painter and do some drawing, so I am trying to find ways to incorporate those skills into my books and other crafts.

Is there a craft you've always wanted to try, but never got around to learning? That is certainly a list that could go on forever, as I love learning and experimenting with new techniques! Printmaking was always a craft/art form I wanted to experiment with more but never had to the time to focus on it in college. I was always interested in the building up of layers and process-based work, which are both things that printmaking seems to allow for.


If you could add to your craft/art line, what would you like to add? I would really like to start working some original drawings into shop, or find ways to use them on book covers or bookmarks.

Did you go to art school or are you self taught? I went to art school at the University of Delaware and got my BFA, but I mainly studied painting, and very intensely at that. Although I did learn coptic book binding in a workshop; I went on a photography based study abroad program and before departing we all made hand bound books for our alternative process work.

What influences your creativity? When I comes to the craft I’ve been making lately (and I never thought I’d be one of those artists, but): Trash. I have become more and more aware of environmental concerns and it makes me so crazy and sad to see the amount of waste our world produces. So I find myself looking at materials that would normally be trash or recycling or something in between and asking myself “Okay, how can I make this useful?”


What does your workspace look like most of the time? Like a violent tornado just passed through it. I have tried, on countless occasions, to be one of those perfectly organized, neat people. But that’s just not me. Over time, I have developed an artist process that requires me to be working on at least 4 or 5 different projects at once. This means that all of my materials are always out all the time. My “studio” right now is the corner of my living room, but usually sprawls out to the floor, coffee table, and sometimes even the kitchen table (at least until my boyfriend asks where we are going to eat dinner).


In your creative life and work,  of what accomplishment are you most proud ?
When I was in college, I had my first solo show featuring my paintings at a local restaurant. The restaurant/bar was basically the cool, classy hipster bar and was very well known for hanging great artwork. Having my artwork hanging there, and for twice the time as most artists, was a huge accomplishment. They accomplishment become even more profound when, by the end of the show, almost every painting had sold. I very proud of that show and cherish it greatly.

In your creative life and work, what’s “the one that got away”? I guess the answer to that question relates back to the answer of the pervious question. I never got the chance to meet or have contact with the people who bought my work and, since I wasn’t into signing paintings, they never got any of my contact information or anything. An art collector from Texas bought one of my pieces and took it home on the spot and I don’t have any way to connect with him/her.

Have you had an "a-ha" moment related to your art or craft? Plenty. And they always fall into one of three categories:
  • “a-ha! Oh, duh...”: For when I am doing something inefficiently and discover the easier, more logical way.
  • “a-ha!” (hours later)“Well, that was stupid/didn’t work at all.” : For brilliant ideas that end up being impossible to execute.
  • “a-ha! I’m a genius!” : An actual good idea, that works in concept and method.

I’m going to keep examples of the first 2 to myself, because most are embarrassing. And I haven’t actually started making and announcing any that fall under the 3rd category, so you’ll just have to keep up with my Etsy shop for those.


What do you think is the difference (if any) between “art”and “craft”?
This is a great question and something I have been battling with for the past few months. I trained and studied as a “artist”, as a painter. I developed a practice and language and body of work that completely existed in the realm of “art” and held no connection to that of “craft”.

Many people see an “art” object as something that exists for aesthetic purposes, as something that speaks to the viewer in a purely visually language to impose an idea. “Craft” objects are seen as items that, although are can be created “artistically”, are practical. You can use them, sit on them, or wear them.

So with that, I think, yes, there is a difference but there doesn’t have to be and maybe there shouldn’t be. It is ultimately up to the creator and the viewer (or customer) to decide if their work is art or craft or some combination of both.


Thanks again to Allie of Soft Shell Crafts for being the first featured artist in this series. Have suggestions or feedback? Want to be featured? Leave a comment or email me at beauty.i.t.eye[at]gmail[dot]com or through Etsy at www.kurpisz.etsy.com

Wednesday, May 11, 2011

Wednesday Wellspring: Sarah G. Ortiz Photography

Congratulations to #31 Mitchie for winning A Different View's giveaway!

And bubbling up from the well this week, is the dual shop diva, Sarah G Ortiz! Sarah offers the world her beautiful photographs through her shop, Sarah G. Ortiz Photography, and she also runs Jibabu, where she offers an eclectic mix of the fun and functional.

Today, one lucky winner will receive a beautiful print from Sarah G. Ortiz Photography. This print is from a trip to Granada, Nicaragua featuring an original photography by Sarah G. Ortiz. It shows a scene with the Cathedral in the City Centre at sundown. Sarah's work is photojournalistic in nature, and therefore, this is a found situation, in which nothing was posed. The photograph measure 8" x 10" and is printed on Fuji Archive Professional paper with a Luster finish using archival inks. When received, photo will be packaged with a backing board and acid-free archival clear bag. Backing board is made from recycled materials, and bag is cellophane, which is 100% biodegradable.

You can find Sarah and her lovely creations around Rochester this weekend at:
  • The Pittsford Sutherland Art Club Arts & Crafts fair at St. John of Rochester on Wickford Way in Fairport on Saturday May 14th from 10:00am to 4:00pm
And now for the rules (This giveaway is open to the US and Canada only.):
MANDATORY ENTRY #1: Go to Sarah G Ortiz Photography, heart the shop, and then leave a comment here telling me your favorite item.
MANDATORY ENTRY #2: Become a follower of this blog and leave a comment letting me know- or if you are already, leave a comment saying you're a loyal follower.

BONUS ENTRIES (leave a separate comment for each):
1. "Like" RNEST on Facebook.
2. "Like" Sarah G. Ortiz Photography on Facebook.
3. Follow Sarah's artistic blog.
4. Go to Jibabu, heart the shop, and then leave a comment here telling me your favorite item.
5. Tweet and blog about this giveaway and leave a comment here with the link.

The winner will be chosen using the random number generator on Tuesday, May 17th and will be announced in the next Wednesday Wellspring.

Tuesday, May 10, 2011

Treasury Tuesday BONUS: The Lilac Festival is Coming!

Treasury Tuesday BONUS! This Etsy Treasury is inspired by one of my favorite local festivals...Rochester's Lilac Festival! The festival starts this upcoming weekend on May 13th and goes to May 22nd, with craft fairs on the 2 weekends.


Many of the items featured are from fellow RNEST members, others are simply from artists who live or have lived in Rochester, and some items just have colors that remind me of the beautiful lilacs in Highland Park.

I'm looking forward to going this year! I hope you are too! :D

Treasury Tuesday: Electric Feel

Spring has finally, definitely sprung! And I'm loving the bright, cheery, electrifying color scheme of this week's featured treasury (which features an item made by Buenahelena).


Be sure you click on the links below and go see more treasuries that feature some of our other awesome RNEST members! (if you don't, you're missing out!)

Featuring RNEST Members:
Featuring and curated by RNEST Members:


* If you make or find a treasury that features an RNEST member, or if you are an RNEST Member who makes a treasury, post the link on the wall at RNEST's Facebook Page. Your treasury could be featured on the next Treasury Tuesday!

Monday, May 9, 2011

Make-It Mondays: Bottlecap Magnets

This week's tutorial comes from our resident plush expert, Kira Sinclair, of KiraArts. For even more info, tips and ideas check out an updated and expanded version on her blog, here. Enjoy! ~Buenahelena


A few years ago, I whipped up these magnets as a last minute Christmas gift. (The jewel of this collection is the cap from a special edition aluminum Mountain Dew Bottle). I used an old Altoids mint tin covered with some scrapbook paper as the gift box.


All you need is:
  • A hot glue gun & hot glue
  • Small magnets/"button magnets" (you can find these at most craft stores, but I get mine in the kids' craft section of Wal-Mart for about $5-$6 for 50 magnets)
  • Bottlecaps (don't forget to wash them!)

Step 1:

First, you'll need to fill the bottom of the cap with a layer of hot glue. (This step is important because the button magnets aren't tall/thick enough to stick up over the edge of the bottlecap.) A good strategy is to You'll need to wait for the first layer to dry before moving on to step 2. I usually make these in batches, so I'll do the first glue layer on about 6 bottlecaps, and by the time I'm done with Step 1 on the 6th cap, the glue on the 1st cap is dry and ready for Step 2.


Step 2:

Apply another layer of hot glue (not too much!) and press the magnet in. Let it dry.

And voila!...Bottlecap Magnets!

So save those bottlecaps! I have all of my friends trained to save theirs (and to be careful when removing the pry-off type of caps). Other places to get bottlecaps are restaurants, bars, and specialty beer stores. Some places will save them for you if you ask nicely!

Monday, May 2, 2011

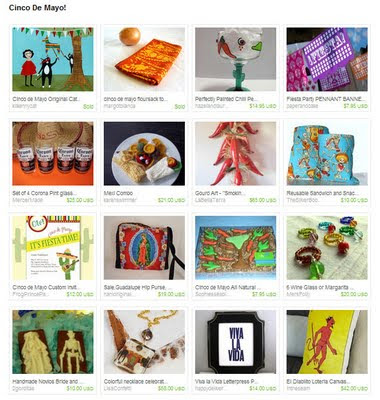
Treasury Tuesday: Cinco De Mayo!

Gear up for Cinco De Mayo with some of these fun handmade finds!


Be sure you click on the links below and go see more treasuries that feature some of our other awesome RNEST members! (if you don't, you're missing out!)

Featuring RNEST Members:
Featuring and curated by RNEST Members:

* If you make or find a treasury that features an RNEST member, or if you are an RNEST Member who makes a treasury, post the link on the wall at RNEST's Facebook Page. Your treasury could be featured on the next Treasury Tuesday!

Make-It Mondays: Match-bookmarks

I'm back with another tutorial, this time by me (buenahelena). For several months I have been using gutted, vintage matchbooks to make mini notepads. Recently though, I got really excited about another solution for my old matchbooks.....magnetic bookmarks! Naming this product however has been a tongue twister. Should it be Matchbook Bookmarks, Book Matches? Match-bookmarks seemed to work the best. Try making some for yourself!

You will need: Matchbooks, Clear heavy duty packing tape, Popsicle stick, Scissors, Adhesive backed magnet strips.

1. Carefully remove matches from the matchbook and lay it flat on the table.

2. Cut off a piece of packing tape and lay it over the flattened matchbook.

3. Flip it over and lay another piece of tape on the other side.

4. Use the Popsicle stick to press the tape onto the matchbook and remove any air bubbles.

5. Cut off the excess packing tape leaving a 1cm margin around the matchbook.

6. Fold the top/front of the matchbook.

7. Add two magnets: 1 on the inside back and 1 behind the front flap.


Now clip it over the page you're ready to read in your favorite book and keep your place with some vintage style!