Tuesday, December 31, 2013

Treasury Tuesday: Happy New Year!


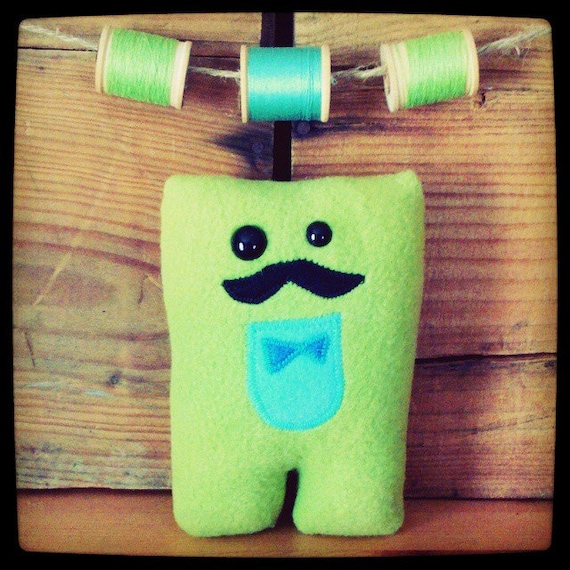
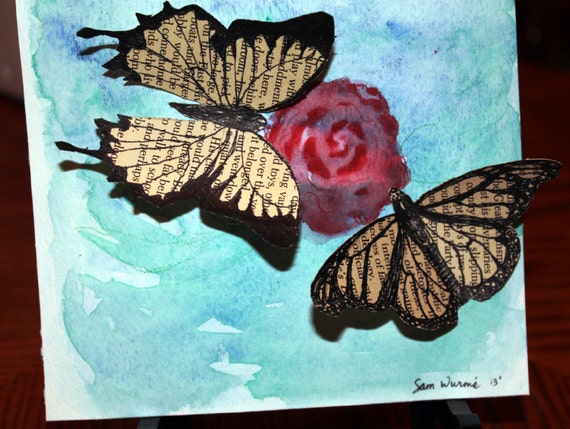
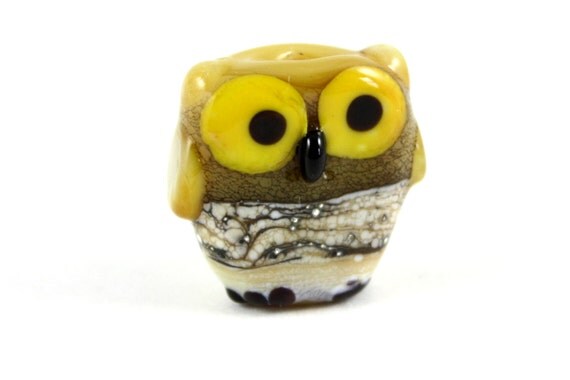
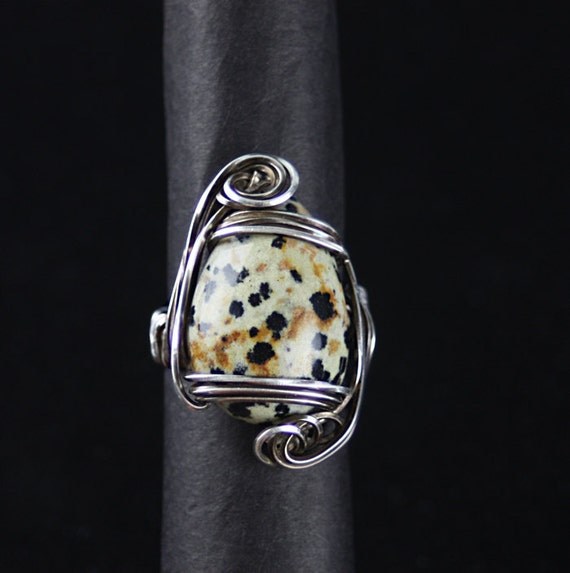
Check out all the treasuries I found.

Featuring RNEST members:

*If you make or find a treasury featuring an RNEST member, please post the link on the wall of RNEST's Facebook Page. Check back each Tuesday for tremendous treasuries.


Sunday, December 15, 2013

December 2013 Team Challenge Winner!


Congratulations to RNEST's Team Challenge winner for 
December's "White Christmas" theme...


Thanks to all the artists who participated 
and to everyone who voted!

Be sure to check back on Sunday, January 5th for our next Monthly Team Challenge!
The theme will be "Spin Me A Yarn".

Monday, December 9, 2013

December Team Challenge: "White Christmas"


Welcome to RNEST's December Team Challenge! The theme for this month was
"White Christmas"


Let's take a look at the contestants...


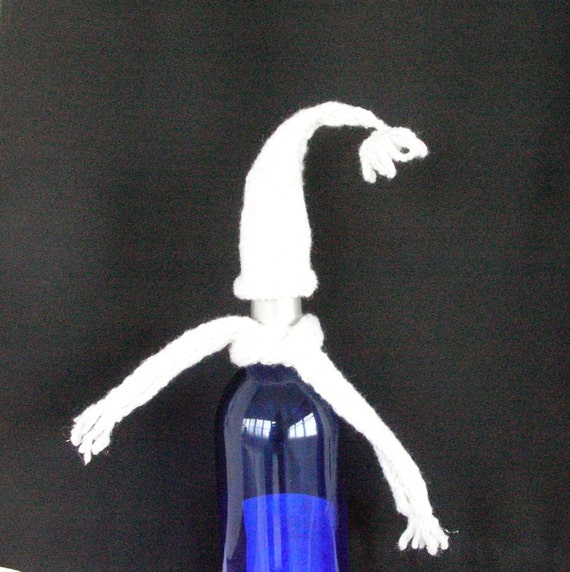
White and Silver Sparkles Wine Hat and Scarf Set by MFcrafts


Cast your vote for your favorite item on the poll in the upper, right corner of the blog! 
(Deadline to vote is by 11:59pm on Sunday, December 15th...you get an extra day to vote since I got the blog post up late!)

The artist whose item receives the most votes gets their Etsy Mini on the top spot on the blog!

Tuesday, November 19, 2013

Treasury Tuesday: RNEST Goes Into The Woods


Treasury Tuesday is back! Sorry it's been so long!
This week's treasury features items that were submitted to the November Team Challenge, as well as some items that were not submitted, but fit the "Into The Woods" theme!


Be sure you click on the other links to see more treasuries! (I can't picture them all so you have to click on them to see!  If you don't, you're missing out!)

Featuring RNEST Members:
Featuring and curated by RNEST Members:
Curated by RNEST Members:

* If you make or find a treasury that features an RNEST member, post the link on the wall at RNEST's Facebook PageYour treasury could be featured on the next Treasury Tuesday!

Sunday, November 17, 2013

November 2013 Team Challenge Winner!


Congratulations to RNEST's Team Challenge winner for 
November's "Into The Woods" theme... 

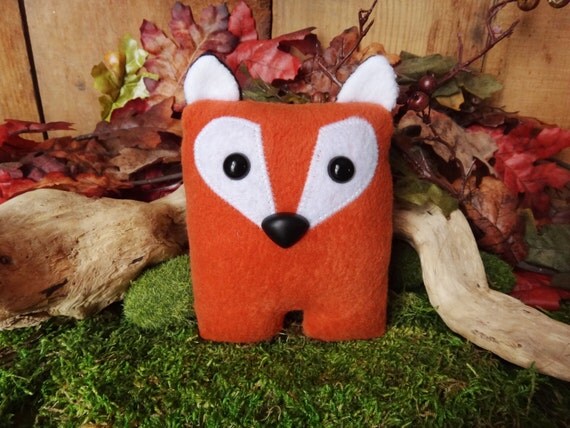
KiraArts with her Fox Nubbin!


Thanks to all the artists who participated 
and to everyone who voted!

Be sure to check back on Sunday, December 8th for our next Monthly Team Challenge!
The theme will be "White Christmas".

Sunday, November 10, 2013

November Team Challenge: "Into The Woods"

Welcome to RNEST's November Team Challenge! The theme for this month was 

"Into The Woods" 


Let's take a look at the contestants...


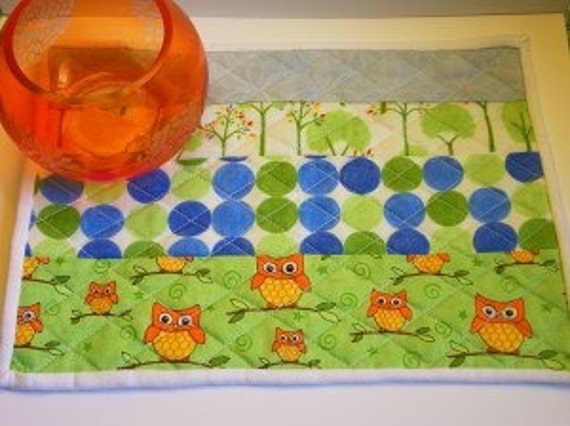
Quilted Owl Mug Rug by Swurme

Fox Nubbin by KiraArts

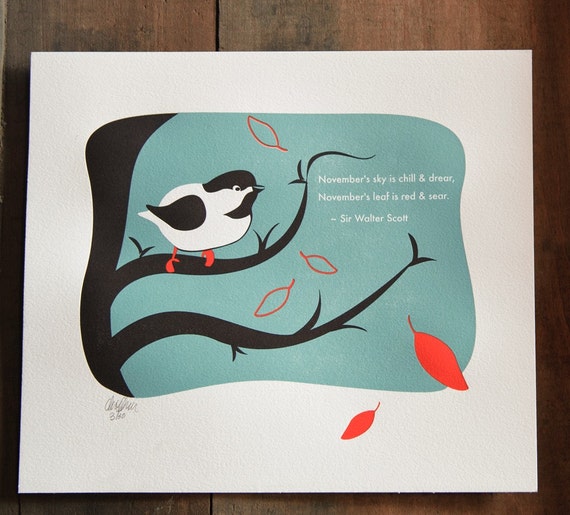
November Bird by FlyRabbitPress

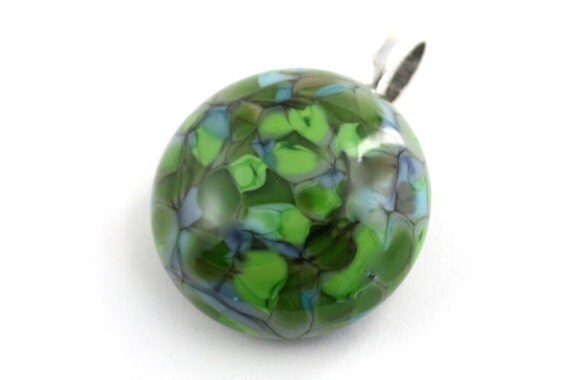
Earth's Blanket Glass Pendant by FrancescaDecaire

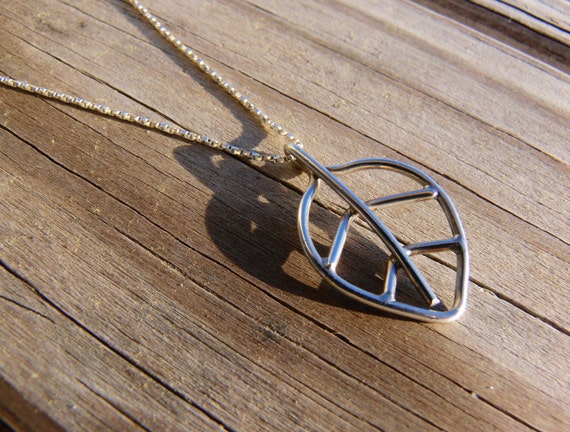
Silver Leaf Necklace by SunshineOnWater

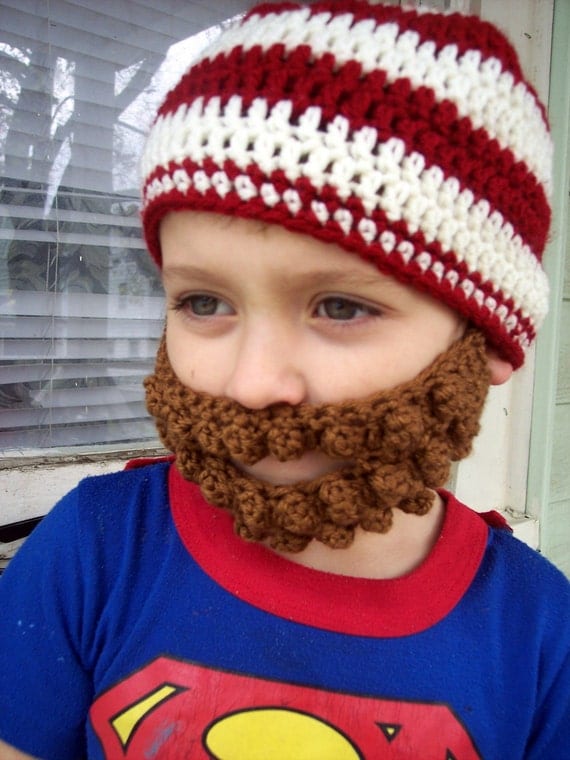
Lumbering Lumberjack Hat by KarenSwimmer

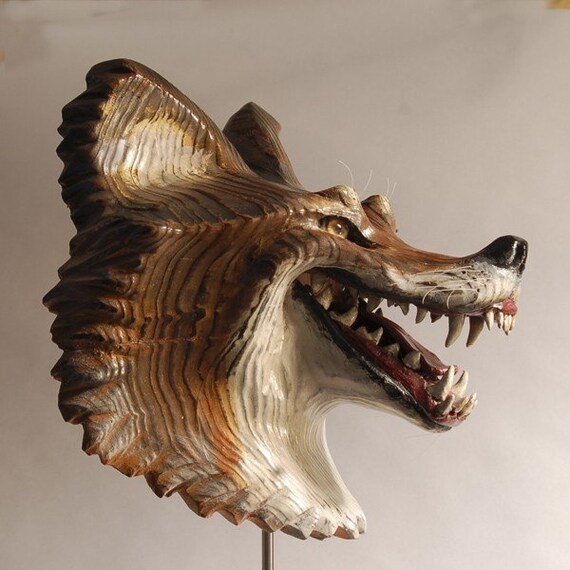
Grinning Coyote Mask by JasonTennant

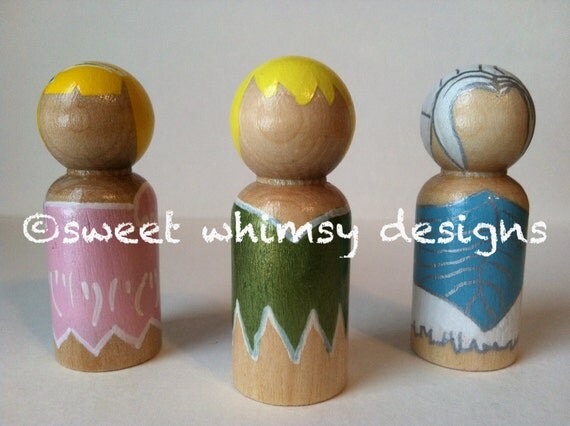
The Fairy Collection by TheWhimsicalSweet

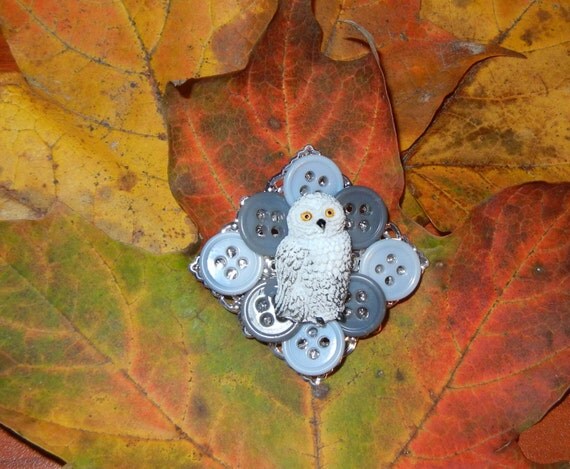
Owl Button Brooch by WLCcreations


Cast your vote for your favorite item on the poll in the upper, right corner of the blog! 
(Deadline to vote is by 11:59pm on Saturday, November 16th)

The artist whose item receives the most votes gets their Etsy Mini on the top spot on the blog!

Tuesday, October 22, 2013

October's 2013 Team Challenge Winner!


Congratulations to RNEST's Team Challenge winner for 
October's "In Disguise" theme... 


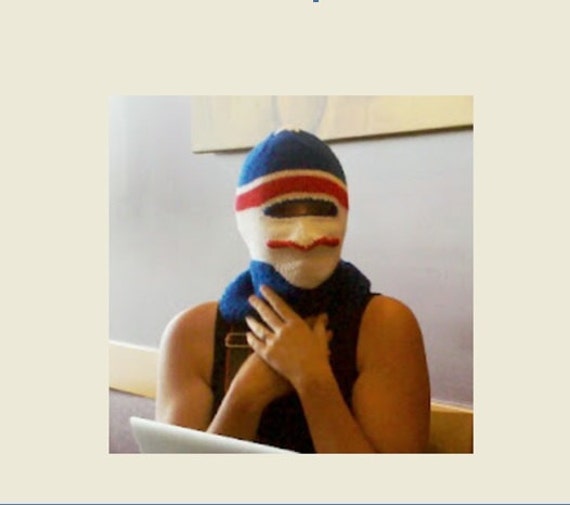
MFCrafts with her Ski Mask Disguise!

Thanks to all the artists who participated 
and to everyone who voted!

Be sure to check back on Sunday, November 10th for our next Monthly Team Challenge!
The theme will be "Into The Woods".

Sunday, October 13, 2013

October Team Challenge: "In Disguise"

Welcome to RNEST's October Team Challenge! The theme for this month was 
"In Disguise" 


Let's take a look at the contestants...


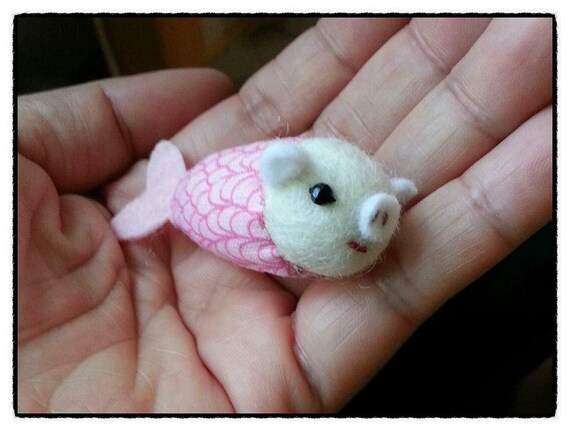
Pig Disguise In Fish by MoyaLazyFactory


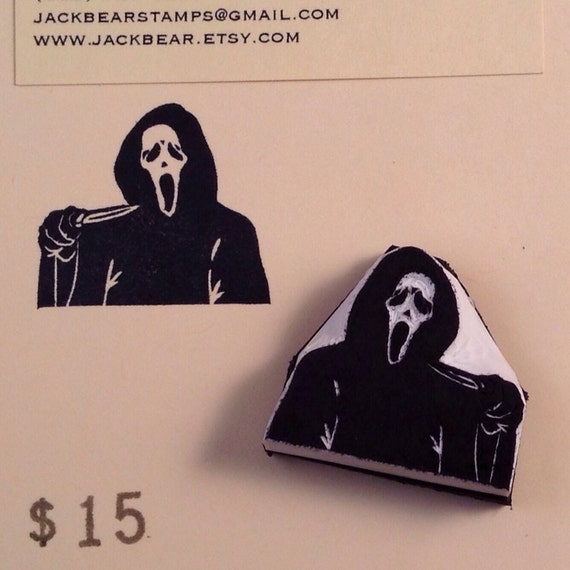
Ghostface Stamp by Jackbear


Ski Mask Disguise by MFCrafts


Cast your vote for your favorite on the poll in the upper, right corner of the blog! 
(Deadline to vote is by midnight on Monday, October 21st)

The artist whose item receives the most votes gets their Etsy Mini on the top spot on the blog!

Monday, September 9, 2013

September Team Challenge: "Back To The Books"


Welcome to RNEST's September Team Challenge! The theme for this month was 
"Back To The Books" 


Let's take a look at the contestants...


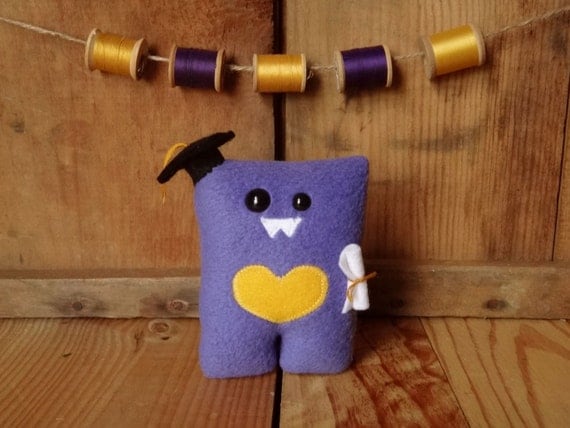
Graduation Nubbin by KiraArts


Cast your vote for your favorite on the poll in the upper, right corner of the blog! 
(Deadline to vote is by midnight on Monday,  September 16th)

The artist whose item receives the most votes gets their Etsy Mini on the top spot on the blog!

Monday, August 26, 2013

Make-It Monday: Make Your Own Tent Weights

When you do craft shows a lot, you experience shows in all sorts of weather.  Everyone thinks about having a good tent to keep you (and your art!) shaded in the sun and dry in the rain...but we can easily forget about wind!  And high winds can easily turn your tent into a giant kite if you don't have it properly weighed down!
So this week's Make-It Monday project  will be teaching you how to make your own tent weights... courtesy of Francesca DeCaire Glass Artist!  

"Last year, Jason and I made some weights for my EZ-UP tent. I’m not sure this is the way I would go about it today, but it works out alright and they are certainly heavy enough. We used a tutorial that I found as a guide. My weights are slightly different and a few pounds heavier, approximately 40 pounds each. Materials totaled much higher than anticipated, roughly $140.
With these weights my tent has been through gusts of wind up to 40 mph without taking flight. I have seen other tents go down that were not secured with enough weight, including one that destroyed my own tent.
Here is an example of really bad weights from a show I just did this week! Boy was I glad that wind didn’t come with the rain storm we had.
Weights or wind chimes? These would knock me straight in the head in high winds.
Here is how we made my weights.
Materials:
  • One 10′ 4″ diameter PVC pipe, cut into four 2 1/2′ sections
  • Eight 4″ diameter PVC end caps
  • Four 12″ x 1/2″ eye bolts
  • Sixteen 1/2″ hex nuts
  • Eight 5/8″ washers
  • PVC primer and glue
  • 2 bags of 80lb Quickrete mix
  • Water
  • Wheelbarrow or tray for mixing cement
  • Shovel and scoop for mixing and pouring cement

making weights for tent - 02
Make sure that the ends of the PVC pipe are clean. You can remove burs with sandpaper.
making weights for tent - 05
Prime the insides of 4 caps and the outside of one end of each pipe.
making weights for tent - 06
After the primer sets apply the glue.
making weights for tent - 07
Firmly attach the cap and pipe.
making weights for tent - 09
With the remaining 4 caps drill holes for the eye hooks.
making weights for tent - 11
Prime the drilled caps. Insert eye hook bolts. Thread on nuts and washers.
making weights for tent - 12
Prepare your cement mix. Follow the manufacturer’s directions.
making weights for tent - 17
Fill the pipes with concrete, we used a plastic cup. Bounce pipes many times to remove air pockets. Prime and glue top of pipes and inside of drilled caps. Attache when ready. Bounce again to remove air pockets around eye hooks.
making weights for tent - 18
Allow the weights to cure standing vertical.

Monday, August 19, 2013

Make-It Monday: Spiral Tie-Dye

This week's Make-It Monday project is a summery tie-dye tutorial from RNEST member Betsy of Sunshine On Water. (originally posted on her blog).

"A few weeks ago, my kids and I were in a tie-dye phase. They wanted to tie-dye and it was a fun summer project! Me being artistic, I went online and watched an hour long video on how to tie-dye shirts… it was a great video, very helpful but really long!  There were a few key things and I’ll share them with you here.  I dyed a handful of shirts, some for my kids, some for gifts and some to sell at local shows.   I have a few listed on my etsy shop,www.etsy.com/shop/SunshineOnWater, check them out!  I only use 100% cotton shirts that are prewashed!
P1390077
Hand-dyed shirts
by Betsy Murray
First thing, buy a white shirt that you like the look & feel of… there’s no sense going through the work if you don’t like the style or fit of the shirt!  I suggest something that is 100% cotton since the dye will not adhere well if there are other fibers in the material (such as rayon, etc.).   Set all your supplies out on an easily washable table (we used our plastic picnic table).  You need: a spray water bottle full of warm water, newspaper, plastic gloves, rubber bands and of course your dye.  I recommend a good quality dye, it will retain the color better and you have more color options with a dye such as Dylon.
P1380322
Supplies
  • Put the plastic gloves on and mix your dye with warm water in a plastic bottle provided with the dye or in the aisle you purchased your dye from.  Read the dye instructions for the dye to water ratio!
  • Spray your white shirt with warm water from your water bottle.  Be sure all of the shirt is covered with a mist of water.
P1380352
Spray with water

  • Next, using a dowel, place the it down on one spot of the shirt and twist tightly(this will form your spiral so pick a location you want the spiral to be at now!)
P1380329
This is a child’s shirt. Twist to form the spiral.
P1380343
Twist tightly

  • Now that your shirt is twisted, it should look like the photo below… Remove the dowel carefully (HOLD onto the shirt so it doesn’t come undone)!!  Then place rubber bands around the side of the shirt and across the top.  It will look like you’re making a pie with slices.  Each slice will form a spiral.
P1380327
Twisted, now add the rubber bands.

  • Then squirt the dye color of your choice on a “piece of the pie” so as to stay inside each piece of pie.  Use the rubber bands as your guide.  You can do the same color on 2 pieces of pie next to each other if you want a bigger spiral. Or you can do only one color in each piece of pie.  If you have 3 colors of dye, you can use all 3 as we did on the shirt below.
P1380351
Three colors of dye were used on this shirt
P1380335
This one has 2 colors of dye on it.

  • Keep your shirts wrapped in the rubber bands and place in a plastic bag for about 4-8 hours.
  • Finally, remove the rubber bands in the sink, unwrap the shirt carefully (so the dye doesn’t drip on the floor), rinse in cold water and wring out.  Then put it in the washing machine and wash in cold water.  Be sure you DO not wash your dyed shirts with other clothes!!!  Then dry in the dryer.  Voila…. now you have a beautiful shirt!
P1390367
Beautiful 2 spiral kids shirt!

There was one secret trick to tie-dying that I left out of this blog, I wonder if anyone knows what it is??  To find out take a look at my etsy profile,www.etsy.com/people/BetsyOnClover!
Have fun making your own tie-dye shirt!
Betsy~ Sunshine On Water"