
Recently our teammate, Kira of KiraArts, shared a button stamp project on her blog, made from an empty thread spool and craft foam. Now she is ready to share how she made these DIY stamps in 10 easy steps. Check these out!


 Materials:
- Empty plastic spools (you could also use old prescription bottles)
- Craft foam (the kind you find in the kids' craft section)
Tools:
- Hot glue gun
- Scissors
- Hole punch
- Marker, pen, or pencil
 Step 1: Use the spool you want to use for your stamp to trace 4 circles onto the craft foam (I did 2 circles on blue and 2 circles on red.)
  Step 2: Cut the circles out.
 Step 3: Take one circle and punch 4 holes in it to look like button holes (or you can do 2 holes if you'd like).
 Step 4: Use the hot glue to attach one of the blank circles to the top of the spool. (You could also use chipboard if you'd like. It might even work better. The first circle is just a base to glue the other part to.)
 Step 5: Glue on the "button" foam circle.
 And there's the first stamp!
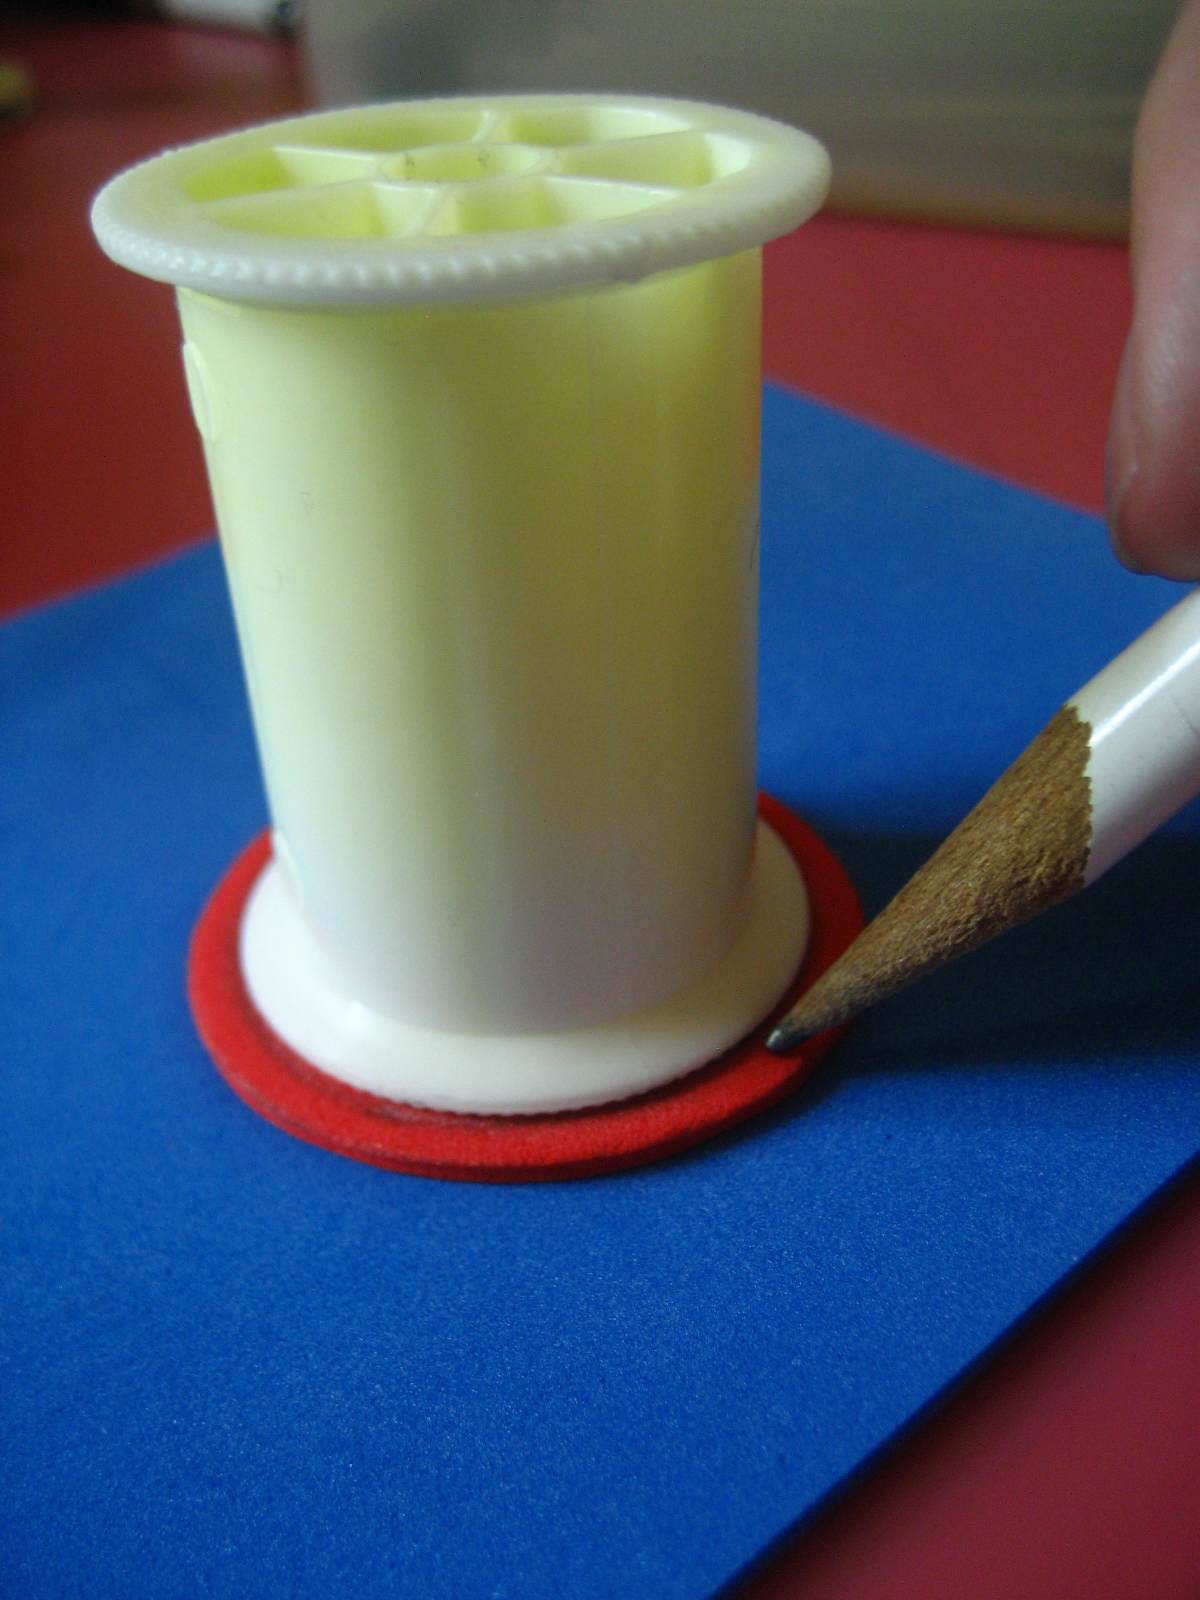 Step 6: Take the second red circle and use a smaller spool to trace a circle.
 Step 7: Cut the circle out so you have a hole in the middle. The circle should now look like an "O".
 Step 8:Glue the blue foam circle onto the other side of the spool, then glue the "O" on top of it.
  Step 9: Remember when you used the hole punch earlier? Salvage those little foam dots from your hole punch. These will be the "button holes" for this side of the stamp.
Step 10: Carefully glue the dots in the middle of the "O" to look like button holes. And now the second side is done!

One stamp...two designs!
Note: Be sure to clean your stamp off after using it!...especially if you plan on using the other side right away. Failure to do so will result in inked-up hands! I usually use cheap baby wipes from the dollar store.

I did a smaller one with a two-hole button design.
 Happy Stamping! :) For more great stamp designs, check our other teammate's, John of Jackbear Stamps, Etsy shop.
0 comments:
Post a Comment