If you have even the slightest flair for crafting and creative endeavors, you (like the rest of the RNESTers) probably have a tendency to hoard cool objects for unknown future projects. In this case, here's an idea for all that sweet paper you have sitting in a drawer.
And it's fast! This took me about 5 minutes.
Handmade Envelope
What you need :
-envelope to use as a template
-decorative / recycled paper
-pen (or pencil)
-scissors
-double sided clear tape (or a glue stick)
1) Open by your store bought envelope by carefully seperating the adhered edges and trace the shape on the envelope onto you decorative paper.
2) Cut out the form of the envelope.
3) Fold the side wing in and use double stick tape to adhere it. Fold to opening flap down as well. And, ta da, a fancy envelope!
Sunday, January 29, 2012
Friday, January 27, 2012
Fresh Fridays: Seeing Green
It appears that everybody on our Etsy Street Team is feeling green, perhaps it is the lack of white outside. Who would imagine that in January we would be seeing green in Rochester, where is all the white stuff anyway?
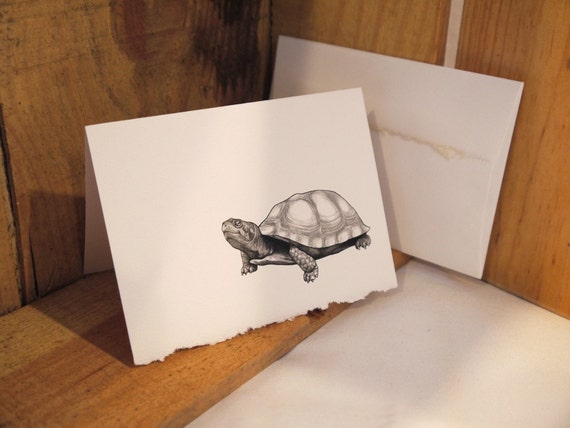
So, the turtle notecard isn't green but could be. All of these fresh finds and many more beautifully handcrafted items can be found on Etsy.
Keep on the look out for the latest and greatest from the RNEST Etsy Stret Team every Friday!
Labels:
Artist Cards,
Beadwork by Amanda,
cuff links,
designs by missrie,
earrings,
green,
heathervitticore,
jewelry,
karen swimmer,
new from rnest,
photo props,
rnest,
stationary,
turtles
Thursday, January 26, 2012
January Team Challenge: New Beginnings
Welcome to RNEST's January Team challenge!
The theme for this month was "New Beginnings"!
Earlier this month, we asked our RNEST members to get creative and make items representing an interpretation of the theme...whether it be a new line of items in their shop or the item itself represents "New Beginnings"
...and now YOU, our loyal blog readers, get to pick the winner!
Cast your vote for your favorite on the poll in the
upper, right corner of the blog!
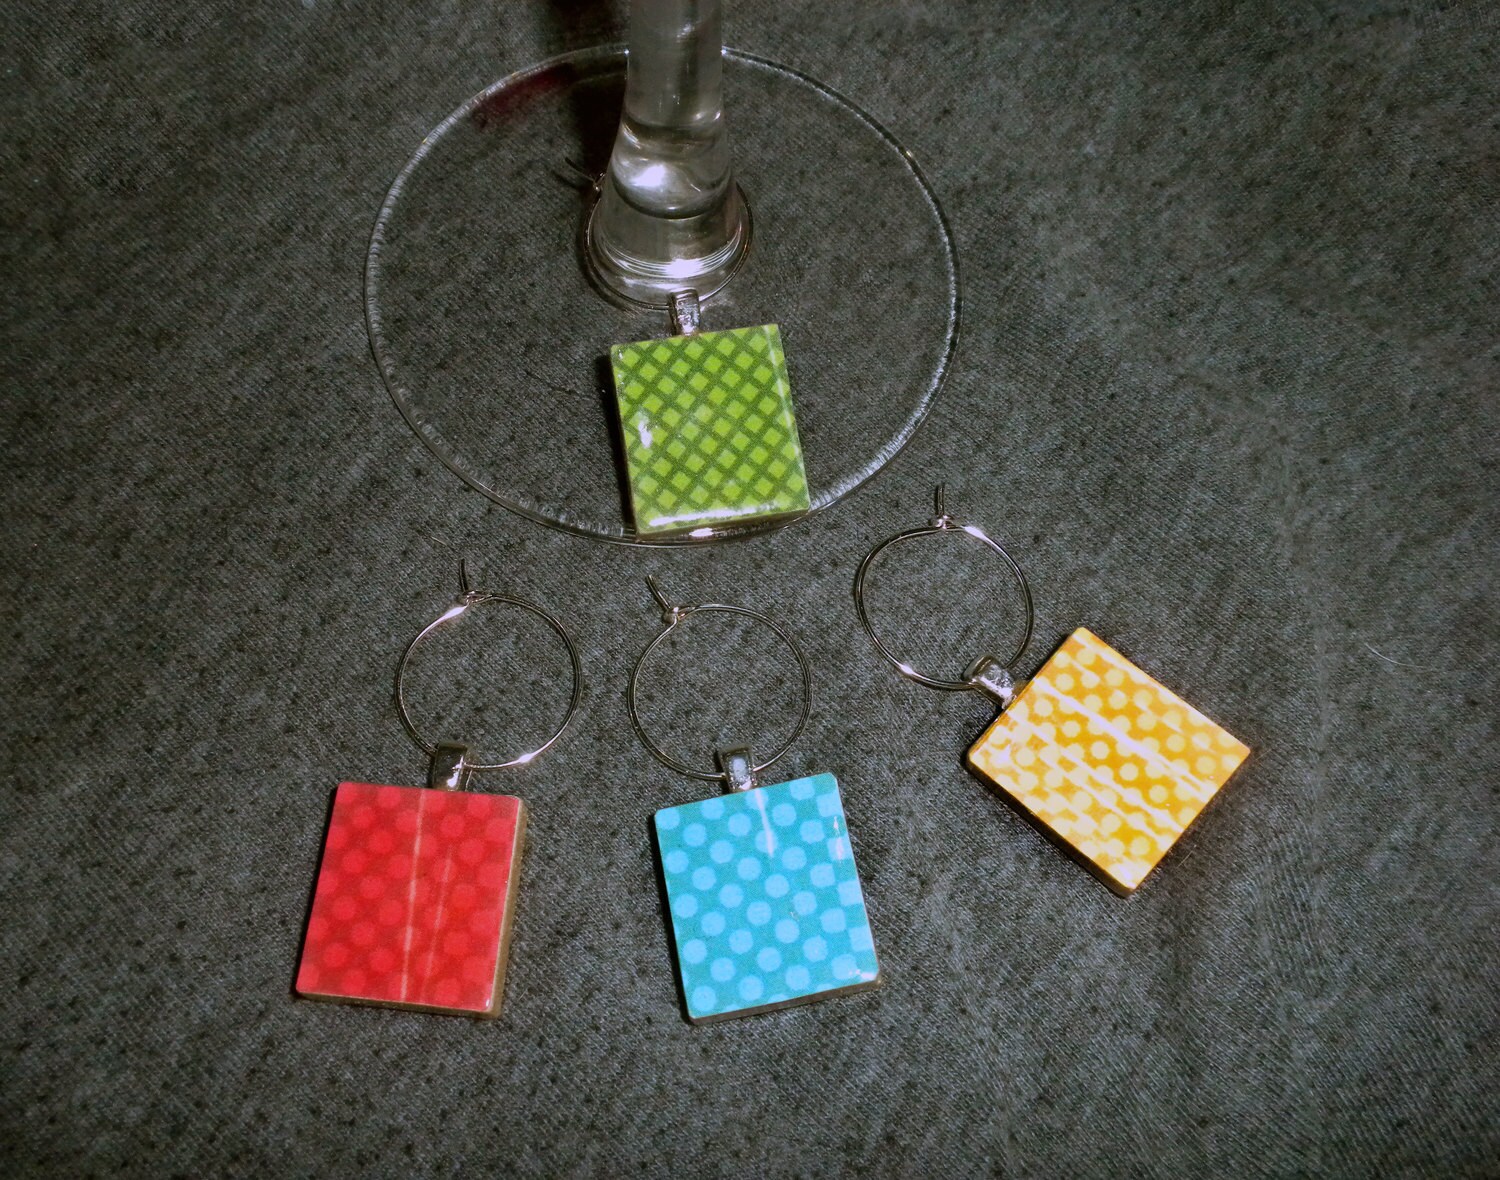
Scrabble Tile Wine Charms by k5art
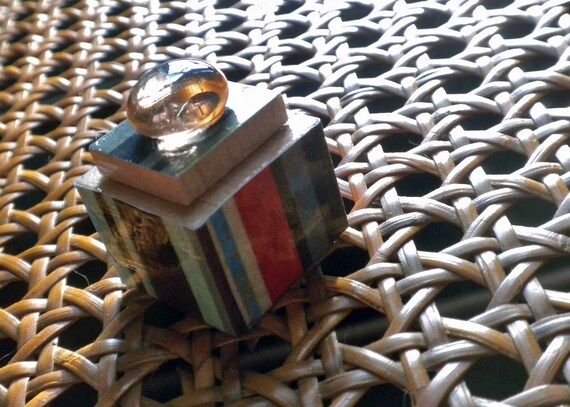
Scrabble Tile Wooden Box Mini Red White Brown Blue Stripes by k5art
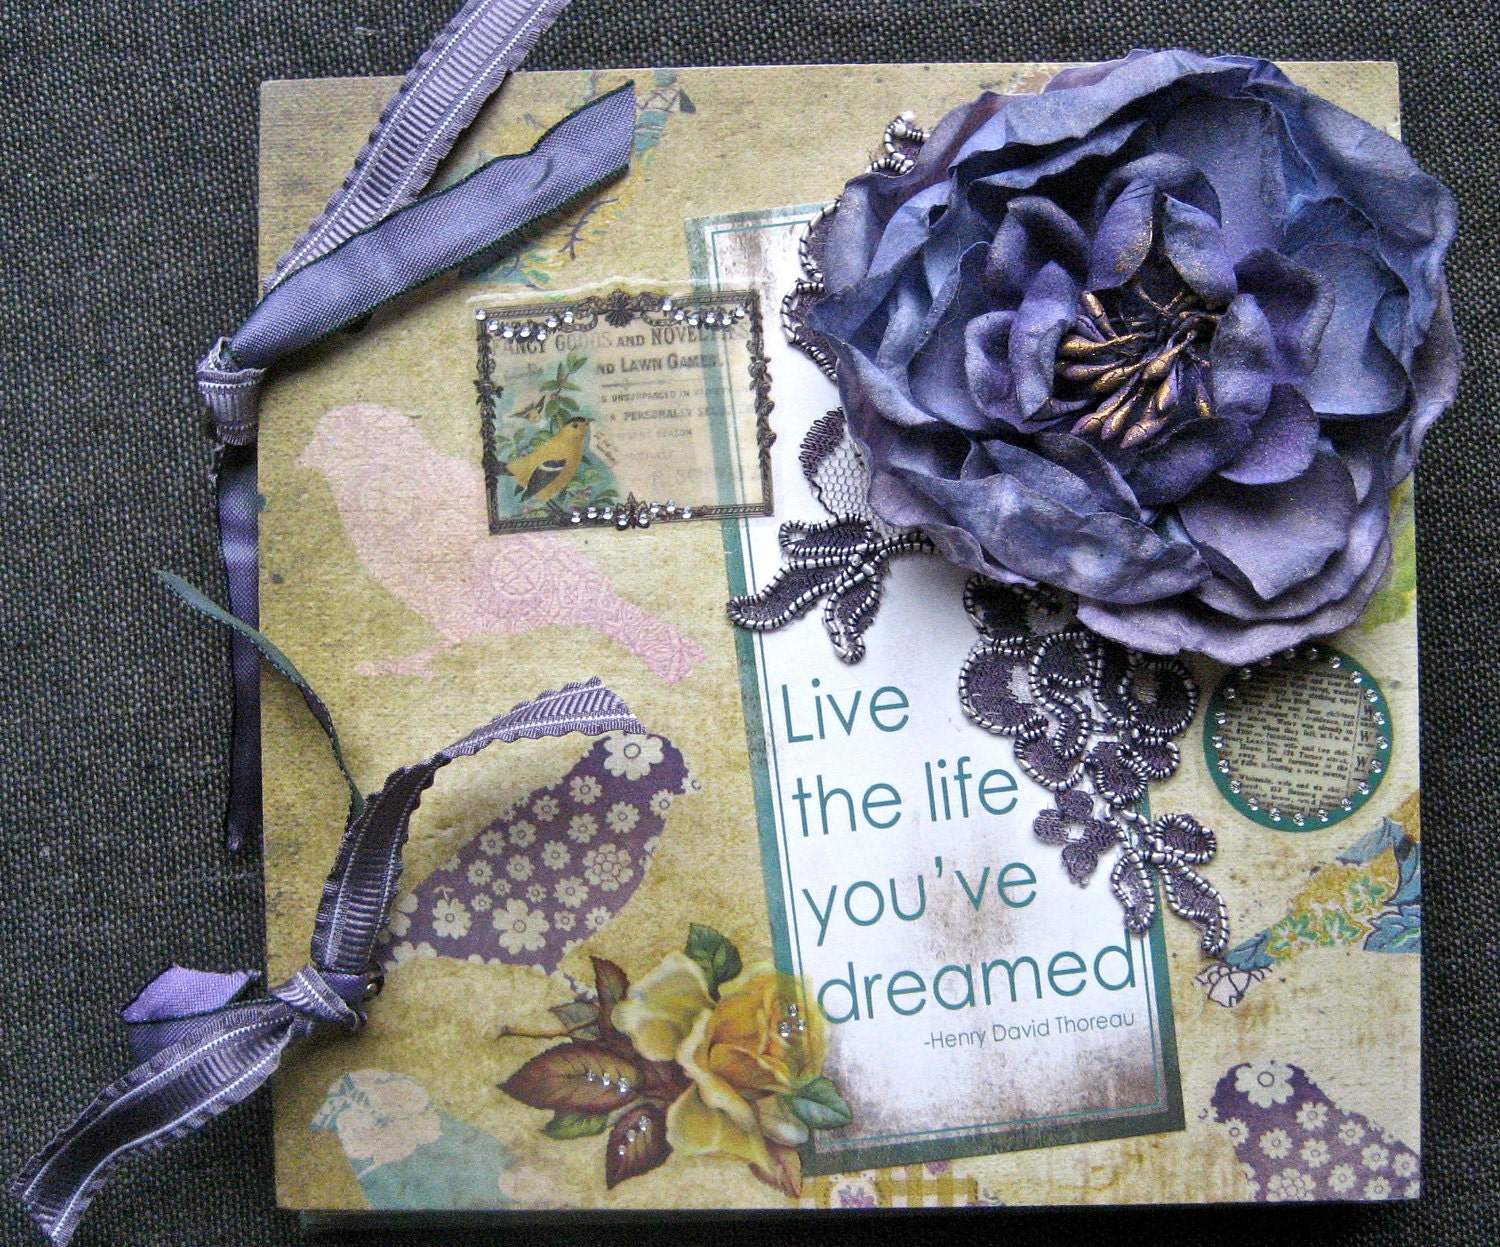
6x6 Memory Journal - Live the Life You've Dreamed by SingingBirdDesigns
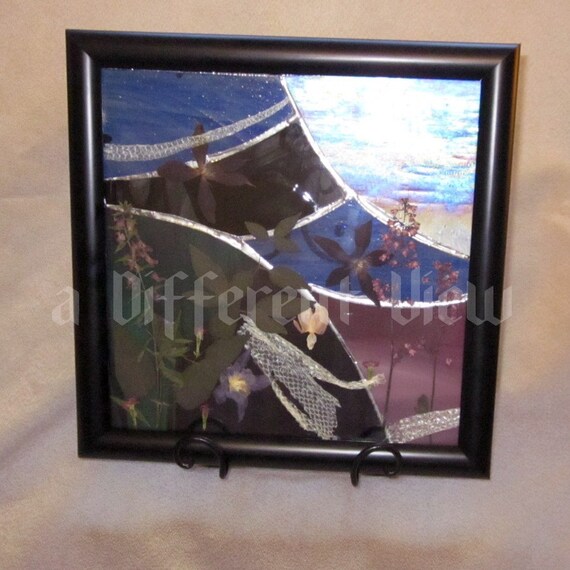
Midnight in Eden -- Natural Floral Stained Glass Art Panel by aDifferentView
Turtle Greeting Card by HeatherVitticore
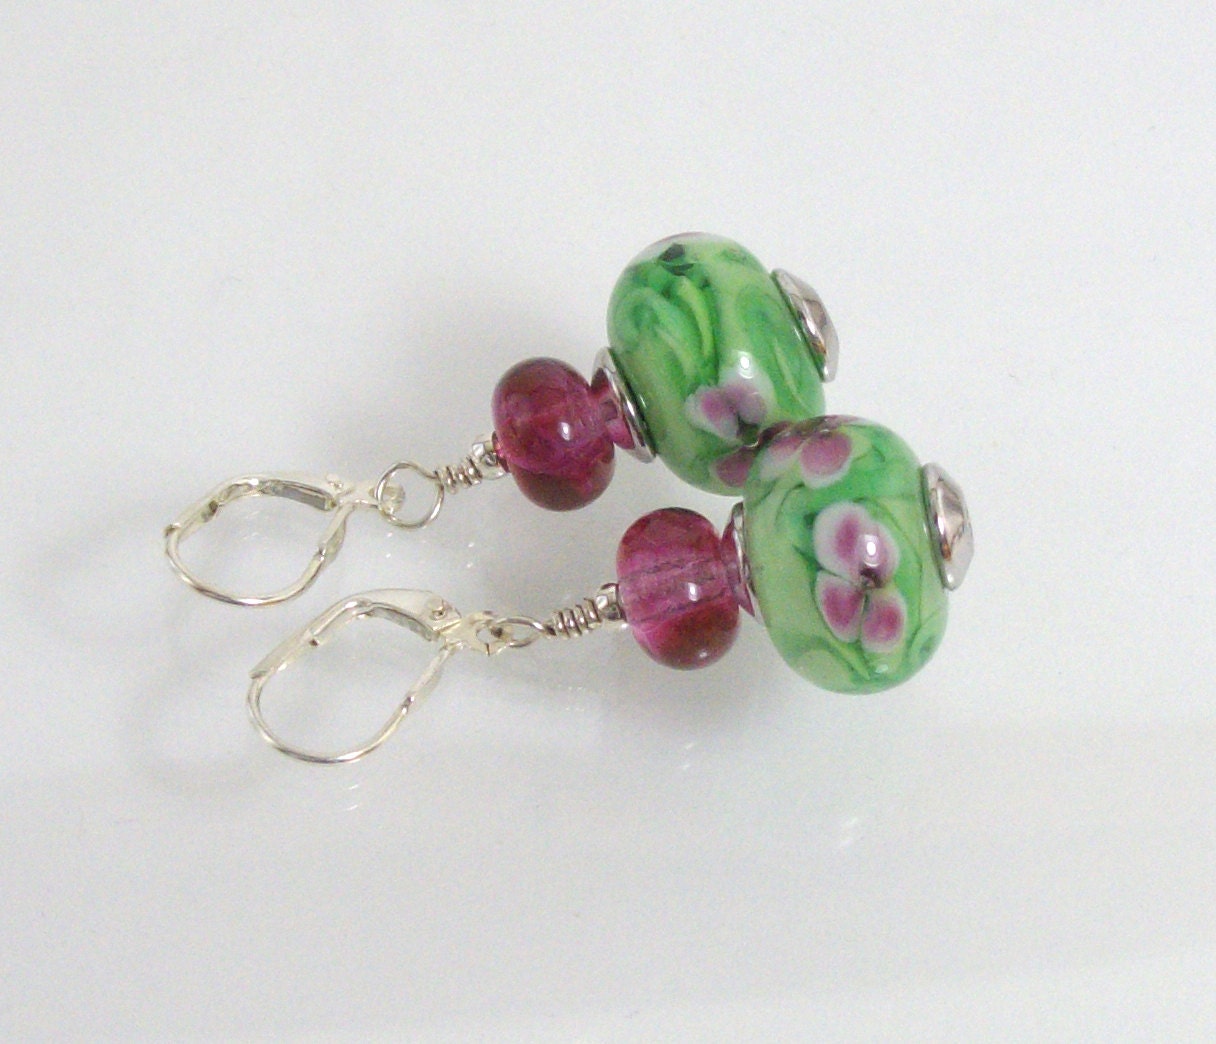
Pink Flowers - Lampwork Glass Earrings by KelleysBeading
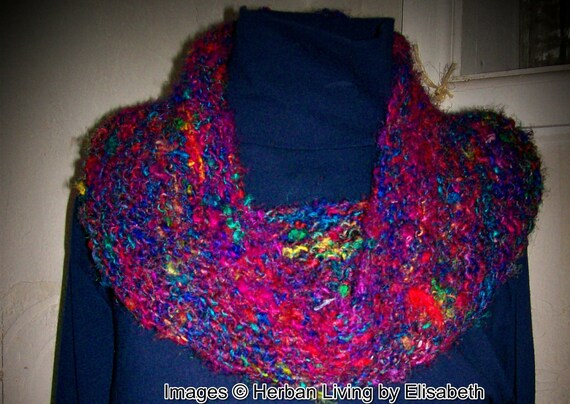
Lissie Fashion Scarf by HerbanLiving
Lady In Blue Rose Pins by HerbanLiving
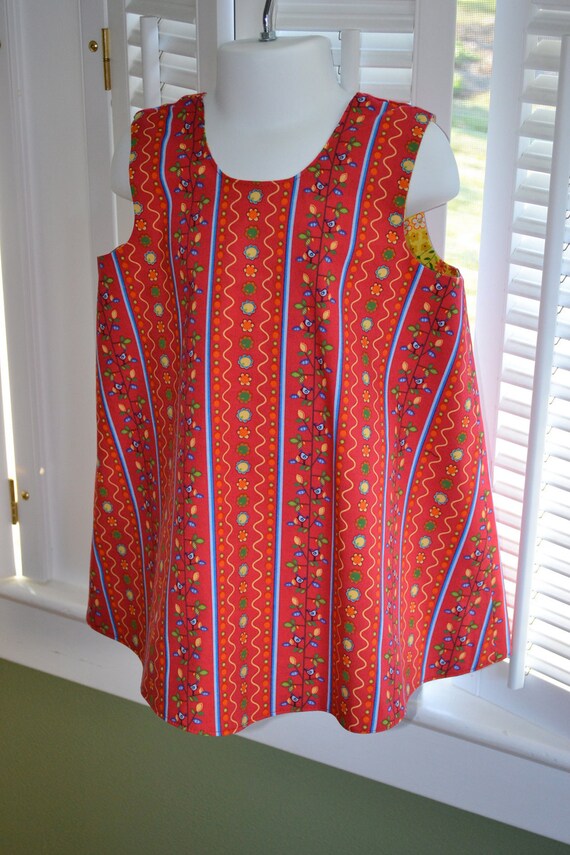
2T Spring Pinafore & Bow Tie Combination by TurtleFly
Wednesday, January 25, 2012
Congratulations to #4 (jhitomi) for winning K5 Art's scrabble tile pendant.
Stay tuned for more giveaways to be posted!
Tuesday, January 24, 2012
Treasury Tuesday: May Your Bobbin Always Be Full
I'm loving both the vintage sewing room theme of this week's featured treasury, as well as the title. There is nothing more annoying to a person who sews than your bobbin running out in the middle of a line of stitches (except for maybe the needle breaking!) May your bobbin always be full! :)
Be sure you click on the other links to see more treasuries! (I can't picture them all so you have to click on them to see! If you don't, you're missing out!)
May Your Bobbin Always Be Full featuring PeachesPictures
Featuring RNEST Members:
- Animals Need Valentines Too! featuring PeachesProducts
- Rhythm Of Pink featuring FaerieTails
- Sunshine For my Valentine featuring k5art
- Will You Be My Valentine? featuring k5art
- Vibrant! featuring k5art
- More "Happy Hearts" by SculptressLink, featuring k5art, SunshyneSilverwear, BeadworkByAmanda, and TheQuiltedHouse
- Winter Warmth by Shshhshop, featuring OldFamilliarWay
- Blythe Field by Shshhshop, featuring AlisonTyne
* If you make or find a treasury that features an RNEST member, or if you are an RNEST Member who makes a treasury, post the link on the wall at RNEST's Facebook Page. Your treasury could be featured on the next Treasury Tuesday!
Sunday, January 22, 2012
Make it Mondays : Single Shot Screenprinting
You're probably starting to see a trend here, so alright, I admit it : I'm pretty into T-shirts.
This Single Shot Screenprinting method (aka, 'ghetto screenprinting', as we called it in college) is a great way to transform a boring, blank shirt into a far more awesome one. This was also my key method of having shirts sporting my favorite bands on them when I too poor to buy them. Over the years, I've made countless shirts using this method and have been thrilled with how long the print has lasted with minimal or no fading I have a few that are over 3 years old and the print is still looking great!
What you need :
-blank T-shirt
-acrylic paint (I'm currently using house paint, which also works just fine)
-plastic coated freezer paper
-print out of a design your choosing
-Exacto knife
-cutting mat (cardboard also works)
-pencil
-iron
-small paint roller and tray (tray not pictured)
-cardboard (not pictured)
-hair dyer (optional)
1. First things first : Choose your design. It can be just about anything, but I'd recommend keeping it simple. Big, bold forms and minimal text works best. But, depending of your level of patience and skill with an Exacto knife, you can get as crazy as you'd like. The sky's the limit.
After brainstorming and searching Google Images for a while, I decided to go back to the routes of my ancestral homeland and make a New Jersey Turnpike shirt (don't judge me).
2. Now that your have your design printed, trace it onto your freezer paper. Make sure that you trace it papery side up, plastic-y side down.
3. Using the Exacto knife, carefully cutting out your forms. You can either discard cut outs, or save them to create an inverse print of your design (kinda fun if you have the time and something else to print onto).
PS--Turn the iron on.
Here's a good trick that will help anytime you have text or a time you have a shape with another shape in the middle of it. Create a bridge, basically a thick line, that connects the form in the middle with the space outside of your design. We'll cut this bridge away later.
4. Now that your stencil is made, it's time to adhere it to your shirt. First, slip some cardboard inside the shirt to prevent paint from seeping through the back of the shirt. Line up your stencil on the shirt, plastic side down, and iron the stencil onto the shirt. The freezer paper should adhere very easily; you'll only have to iron for about a minute.
Let's go back to that bridge we made earlier. Now that the stencil is ironed on, you can carefully using your Exacto knife to cut away and remove the bridge.
PS--Turn the iron off.
5. Time for my favorite part : the paint!
As a side note, you can get these mini rollers at any hardware store for about $2 and they come with a little plastic tray. However, I've done this some many times and forgotten to wash just as many trays that I am using the back of an old canvas instead. You can use tin fold, a paper plate, or whatever you have around; the principle is the same.
Pour the paint onto the tray and roll your roller in the paint. Try to pick up a fairly liberal amount of paint, but not so much that it will splatter. It also usually takes a decent amount of paint to cover your design, as the fabric just soaks it right up. Roll the paint over your stencil, and be careful to not get paint on the exposed part of the shirt.
6. Hooray! You're almost there! Now you can either wait for the paint to dry or use a hair dyer to speed up the process.
7. Once the paint is completely dry, carefully peel off the freezer paper from the shirt. It should come off very easily. In some cases, you can even get another use or 2 out of your stencil. Otherwise, just discard it.
Congrats! Now you have a totally sweet t-shirt! You can wear it right away, but I like to wash mine first. I find the first wash can help to set the paint into the shirt and loosen up the painted fabric a bit. I'd also recommend washing inside out, especially for the first wash!
Happy DIY-ing and see ya next time!
This Single Shot Screenprinting method (aka, 'ghetto screenprinting', as we called it in college) is a great way to transform a boring, blank shirt into a far more awesome one. This was also my key method of having shirts sporting my favorite bands on them when I too poor to buy them. Over the years, I've made countless shirts using this method and have been thrilled with how long the print has lasted with minimal or no fading I have a few that are over 3 years old and the print is still looking great!
What you need :
-blank T-shirt
-acrylic paint (I'm currently using house paint, which also works just fine)
-plastic coated freezer paper
-print out of a design your choosing
-Exacto knife
-cutting mat (cardboard also works)
-pencil
-iron
-small paint roller and tray (tray not pictured)
-cardboard (not pictured)
-hair dyer (optional)
1. First things first : Choose your design. It can be just about anything, but I'd recommend keeping it simple. Big, bold forms and minimal text works best. But, depending of your level of patience and skill with an Exacto knife, you can get as crazy as you'd like. The sky's the limit.
After brainstorming and searching Google Images for a while, I decided to go back to the routes of my ancestral homeland and make a New Jersey Turnpike shirt (don't judge me).
2. Now that your have your design printed, trace it onto your freezer paper. Make sure that you trace it papery side up, plastic-y side down.
3. Using the Exacto knife, carefully cutting out your forms. You can either discard cut outs, or save them to create an inverse print of your design (kinda fun if you have the time and something else to print onto).
PS--Turn the iron on.
Here's a good trick that will help anytime you have text or a time you have a shape with another shape in the middle of it. Create a bridge, basically a thick line, that connects the form in the middle with the space outside of your design. We'll cut this bridge away later.
4. Now that your stencil is made, it's time to adhere it to your shirt. First, slip some cardboard inside the shirt to prevent paint from seeping through the back of the shirt. Line up your stencil on the shirt, plastic side down, and iron the stencil onto the shirt. The freezer paper should adhere very easily; you'll only have to iron for about a minute.
Let's go back to that bridge we made earlier. Now that the stencil is ironed on, you can carefully using your Exacto knife to cut away and remove the bridge.
PS--Turn the iron off.
5. Time for my favorite part : the paint!
As a side note, you can get these mini rollers at any hardware store for about $2 and they come with a little plastic tray. However, I've done this some many times and forgotten to wash just as many trays that I am using the back of an old canvas instead. You can use tin fold, a paper plate, or whatever you have around; the principle is the same.
Pour the paint onto the tray and roll your roller in the paint. Try to pick up a fairly liberal amount of paint, but not so much that it will splatter. It also usually takes a decent amount of paint to cover your design, as the fabric just soaks it right up. Roll the paint over your stencil, and be careful to not get paint on the exposed part of the shirt.
6. Hooray! You're almost there! Now you can either wait for the paint to dry or use a hair dyer to speed up the process.
7. Once the paint is completely dry, carefully peel off the freezer paper from the shirt. It should come off very easily. In some cases, you can even get another use or 2 out of your stencil. Otherwise, just discard it.
Congrats! Now you have a totally sweet t-shirt! You can wear it right away, but I like to wash mine first. I find the first wash can help to set the paint into the shirt and loosen up the painted fabric a bit. I'd also recommend washing inside out, especially for the first wash!
Happy DIY-ing and see ya next time!
Labels:
DIY,
make-it mondays,
new jersey turnpike,
paint,
screenprint,
soft shell crafts,
t-shirt
Friday, January 20, 2012
Friday Freebie!: SunshyneSilverwear's Pin It To Win It Contest!
While this isn't an official RNEST giveaway, we like to promote our members' endeavors! (especially when they're this creative!) RNEST member, Erin of SunshyneSilverwear is having a "Pin It To Win It" contest that begins today!
The prize is a $25 gift certificate good towards any of the beautiful, handmade, recycled spoon pendants in her shop!
*(This contest is NOT an official RNEST giveaway. Please don't post contest entry links on the RNEST blog or Facebook page. You must post them on SunshyneSilverwear's blog/Facebook page in order for your entry to be valid)
To read a little more about Pinterest's possibilities, read their official 'About' page here.
One last thing...As of right now, creating Pinterest accounts are by invitation only. If you do not currently have a Pinterest account, e-mail Erin at sunshyne_silverwear(at)hotmail(dot)com and she will send you an invite so you can take part in the contest! Happy Pinning!
Labels:
contest,
Friday Freebie,
Pinterest,
sunshyne silverwear
Thursday, January 19, 2012
Wedge Me In
by: John Ballou - Jackbear Stamps
I love the South Wedge. It has some of my favorite iconic Rochester locations in it. It has real local businesses with home grown entrepreneurs. And it has an amazing community association.
This Friday night the South Wedge Planning Committee is having an Silent Art Auction as part of it's Open House and Fundraising Drive called "Wedge Me In". Art from South Wedge artisans, and art inspired by the South Wedge, will be up for grabs. The event begins at 6 pm on Friday, January 20th at 224 Mt. Hope Avenue. There will be a raffle as well, and a chance to purchase some vintage South Wedge posters as well. Food is available, and a meet and greet with the new Executive Director John Page.
RNEST is involved because a few of our members have donated artwork that will be available in the Silent Art Auction. I have created a print titled "Corner of Gregory and Heaven" in honor of one of my favorite businesses in the South Wedge, the Tap & Mallet bar. Sorry this is kind of lousy picture, but you get the idea. I first hand carved a rubber stamp, then created this print from the block. Size is slightly under 6"x6".
Hope you can make it Friday night to learn about the Wedge, and get your hands on some local art.
Wednesday, January 18, 2012
Wednesday Wellspring: K5 Art
Congratulations to # 7 (Mitchie ) for winning Francesca's Cupcake bead.
And bubbling up from the well this week, a tiny treasure from K5 art!
Today, one lucky winner will receive a 1"x1" mini Scrabble Tile box! A brand new design from this shop, this little trinket box is made out of recycled Scrabble tiles and sealed with a hard glaze for a beautiful protective shine. What a perfect way to say "I love you" by giving this little box to someone special. You can roll up a small message and place it inside, fill it with fun confetti or gemstones, or even pop "the question" by hiding your ring inside! Whatever you can imagine! These would also make a great party favors. If you are interested in ordering a large quantity, I do have wholesale pricing that comes with a special bonus!
And now for the rules (This giveaway is open to US only):
MANDATORY ENTRY #1: Go to K5 Art, heart the shop, and then leave a comment here telling me your favorite item.
MANDATORY ENTRY #2: Become a follower of this blog and leave a comment letting me know- or if you are already, leave a comment saying you're a loyal follower.
BONUS ENTRIES (leave a separate comment for each):
1. "Like" RNEST on Facebook .
2. "Like" K5 Art on Facebook
4. Follow K5 Art's artistic blog
3. Tweet and blog about this giveaway and leave a comment here with the link.
The winner will be chosen using the random number generator on Tuesday, January 24th, and will be announced in the next Wednesday Wellspring.
Labels:
freebies,
giveaway,
K5 Art,
pendant,
Wednesday wellspring
Tuesday, January 17, 2012
Treasury Tuesday: Four Years of Pantone
There's a lot of buzz on the craft blogosphere and Pinterest about "Tangerine Tango", Pantone's Color of the Year for 2012. I've seen pin boards on Pinterest, like this one, dedicated to pinning images with the color, including the tag #PinPantone. With all this Pantone buzz, I had the inspiration to make an Etsy Treasury of the Pantone Colors of the Year for the past 4 years (one color for each row). This treasury includes 5 RNEST members as well!
2009 - Mimosa
2010 - Turquoise
2011 - Honeysuckle
2012 - Tangerine Tango
by KiraArts, featuring aDifferentView, BeadWorkByAmanda, k5art, FrecklesAnd Frizz, and TheQuiltedHouse
Featuring RNEST Members:
- Retro Rust featuring InMyHeadStudios
- Red And Yellow Make Orange featuring FaerieTails
- A Burst Of Light featuring FaerieTails
- My Garden Blooms In Lilacs featuring PeachesPictures
- Beneath Winter Blue Skies & Oceans featuring PeachesProducts
- A Bird In The Hand featuring HeatherVitticore
- From The South featuring HeatherVitticore
- What Should We Name This Treasury? featuring HeatherVitticore
- RNEST in Green by FaerieTails, featuring an all-RNEST cast!
- Colors On White by KiraArts, featuring SunshyneSilverWear, FrancescaDeCaire, and BeadworkByAmanda
Curated by RNEST Members:
- The Last Remaining Light by PeachesProducts
- Curiouser and Curiouser by aDifferentView
* If you make or find a treasury that features an RNEST member, or if you are an RNEST Member who makes a treasury, post the link on the wall at RNEST's Facebook Page. Your treasury could be featured on the next Treasury Tuesday!
Wednesday, January 11, 2012
Wednesday Wellspring: Francesca DeCaire
Bubbling up from the well this week, a sweet treat from Francesca DeCaire!
Today, one lucky winner will receive a Pistacio Cupcake Pendant. Glass Artist Francesca DeCaire's cupcake pendants are made from fine glass made in Murano Italy. She uses a technique called lampworking to make her beads. Every bead is formed carefully one at a time and then inspected for quality. Her cupcake pendants come in many styles. Today's giveaway features her Pistacho cupcake pendant which comes with a black flat cord necklace. Francesca will consider custom orders at your request at francesca@francescadecaire.com. You can learn more about the artist at her website francescadecaire.com. Her work will also be available for sale at Bead Breakout in Rochester, NY throughout May and June of 2012.
And now for the rules (This giveaway is open to US, Canada, UK, Germany, and Australia):
MANDATORY ENTRY #1: Go to Francesca DeCaire, heart the shop, and then leave a comment here telling me your favorite item.
MANDATORY ENTRY #2: Become a follower of this blog and leave a comment letting me know- or if you are already, leave a comment saying you're a loyal follower.
BONUS ENTRIES (leave a separate comment for each):
1. "Like" RNEST on Facebook .
2. Tweet and blog about this giveaway and leave a coment here with the link.
The winner will be chosen using the random number generator on Tuesday, January 17th and will be announced in the next Wednesday Wellspring.
Labels:
beads,
cupcake,
Francesca DeCaire,
freebies,
giveaway,
Wednesday wellspring
Tuesday, January 10, 2012
Treasury Tuesday: Naturally, Turquoise & Mint, and Nests For RNEST
There were so many great treasuries this week! I couldn't choose just one to picture, so I chose three...one treasury for each category! Be sure you click on the other links to see more treasuries! (I can't picture them all so you have to click on them to see! If you don't, you're missing out!)
Featuring and curated by RNEST Members:
Featuring RNEST Members:
- Cool Beans featuring HeatherVitticore
- Banish Ye Head Pain! featuring HeatherVitticore
- Penguins Have More Fun... featuring HeatherVitticore
- Some Bunny Loves You featuring HeatherVitticore
- Amethyst Amore featuring HeatherVitticore
- Brown is Beautiful! featuring k5art
- Art from the Heart featuring k5art
- Flames featuring k5art
- Vanilla Chai Tea Latte featuring k5art
- Sew Perfect featuring TheStitchingStudio
- Happy New Year Santa's Elves featuring PeachesProducts
- Love Feels Like Heaven But It Can Hurt Like Hell featuring LoveAndWhiskers
- The Lovely Ginkgo featuring LoveAndWhiskers
- For The Fair Maiden featuring aDifferentView
- A Rose For You featuring KiraArts
by KiraArts, featuring SunshyneSilverWear, FrancescaDeCaire, InMyHeadStudios, & TheQuiltedHouse
- The Number Game by k5art, featuring KarenSwimmer
- Scarlet Dreams by k5art, featuring Kurpisz
* If you make or find a treasury that features an RNEST member, or if you are an RNEST Member who makes a treasury, post the link on the wall at RNEST's Facebook Page. Your treasury could be featured on the next Treasury Tuesday!
Subscribe to:
Posts (Atom)